Qualifying the New Vendor by Admin Login
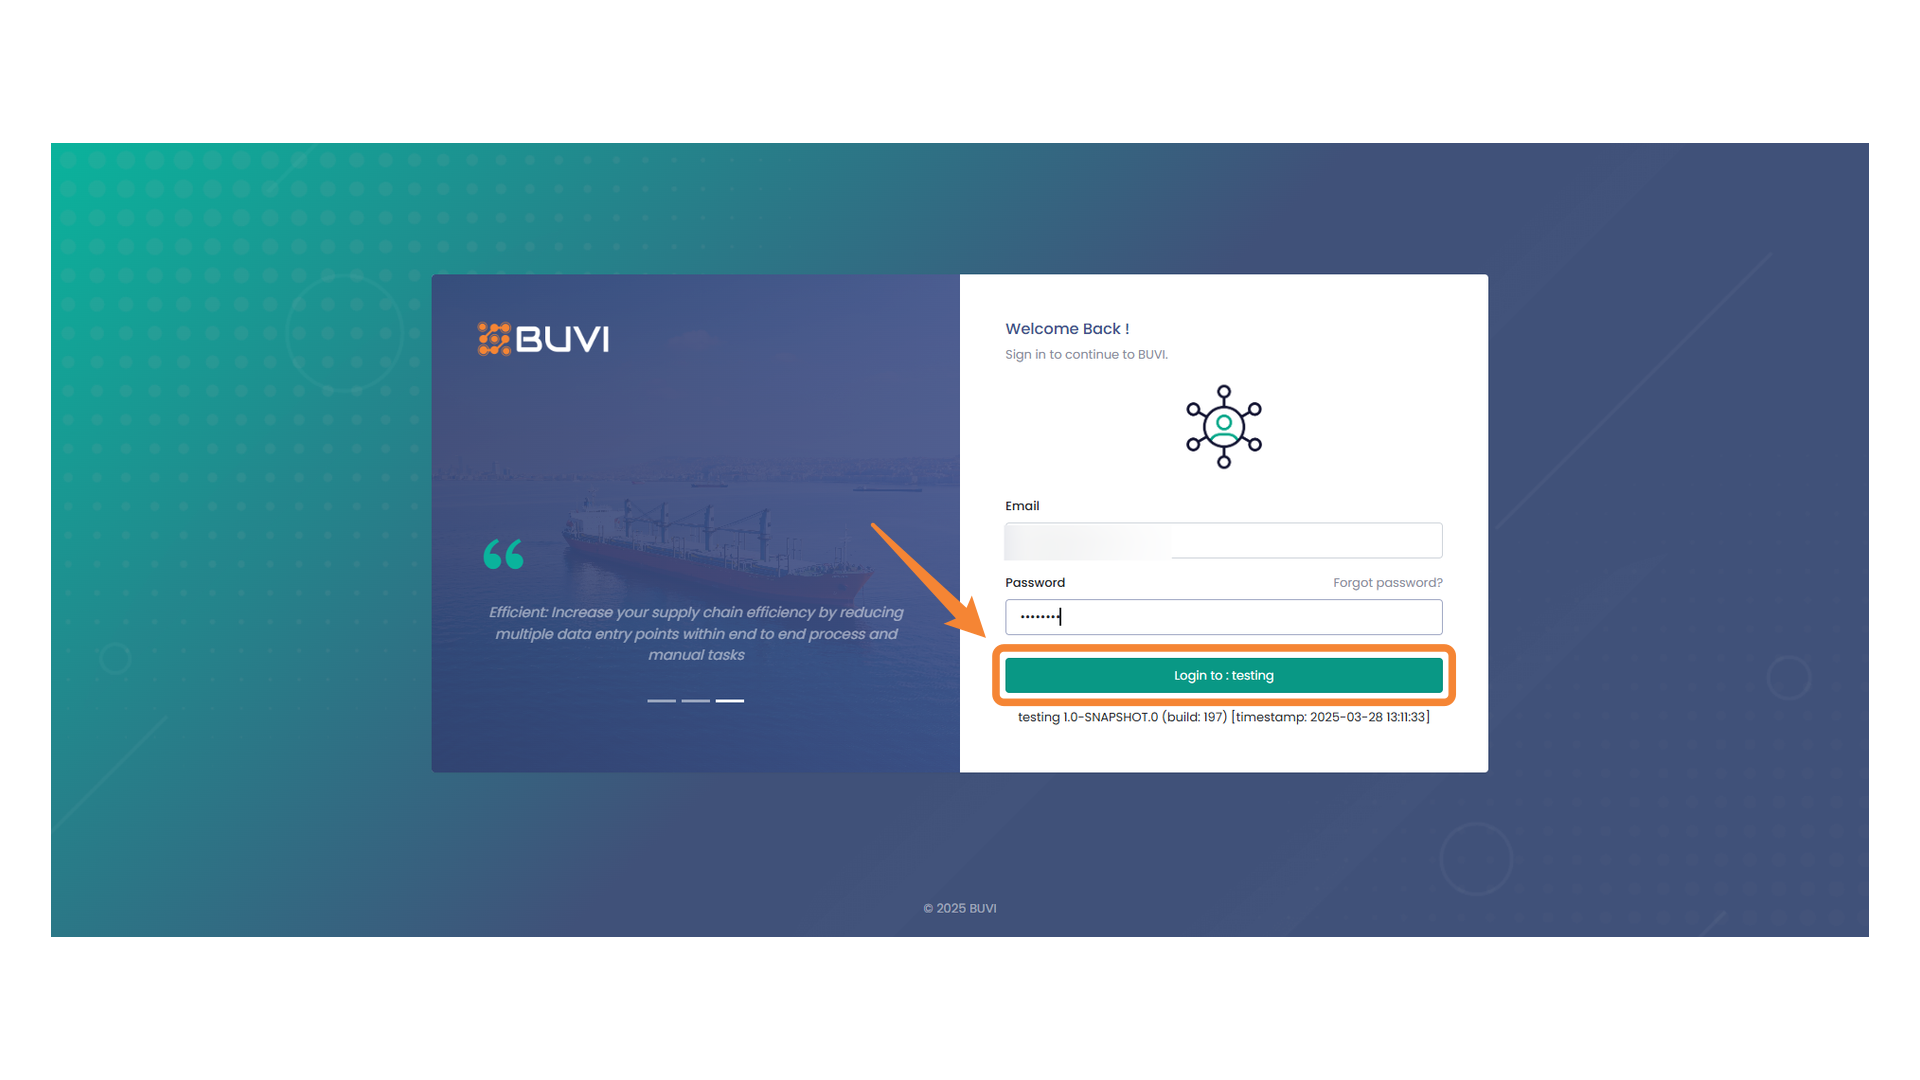
1. Login with Admin user to Qualify the New Vendor
Enter your email address here to log in with Admin user.
2. Click on Login Button
Click the button to proceed with logging in.

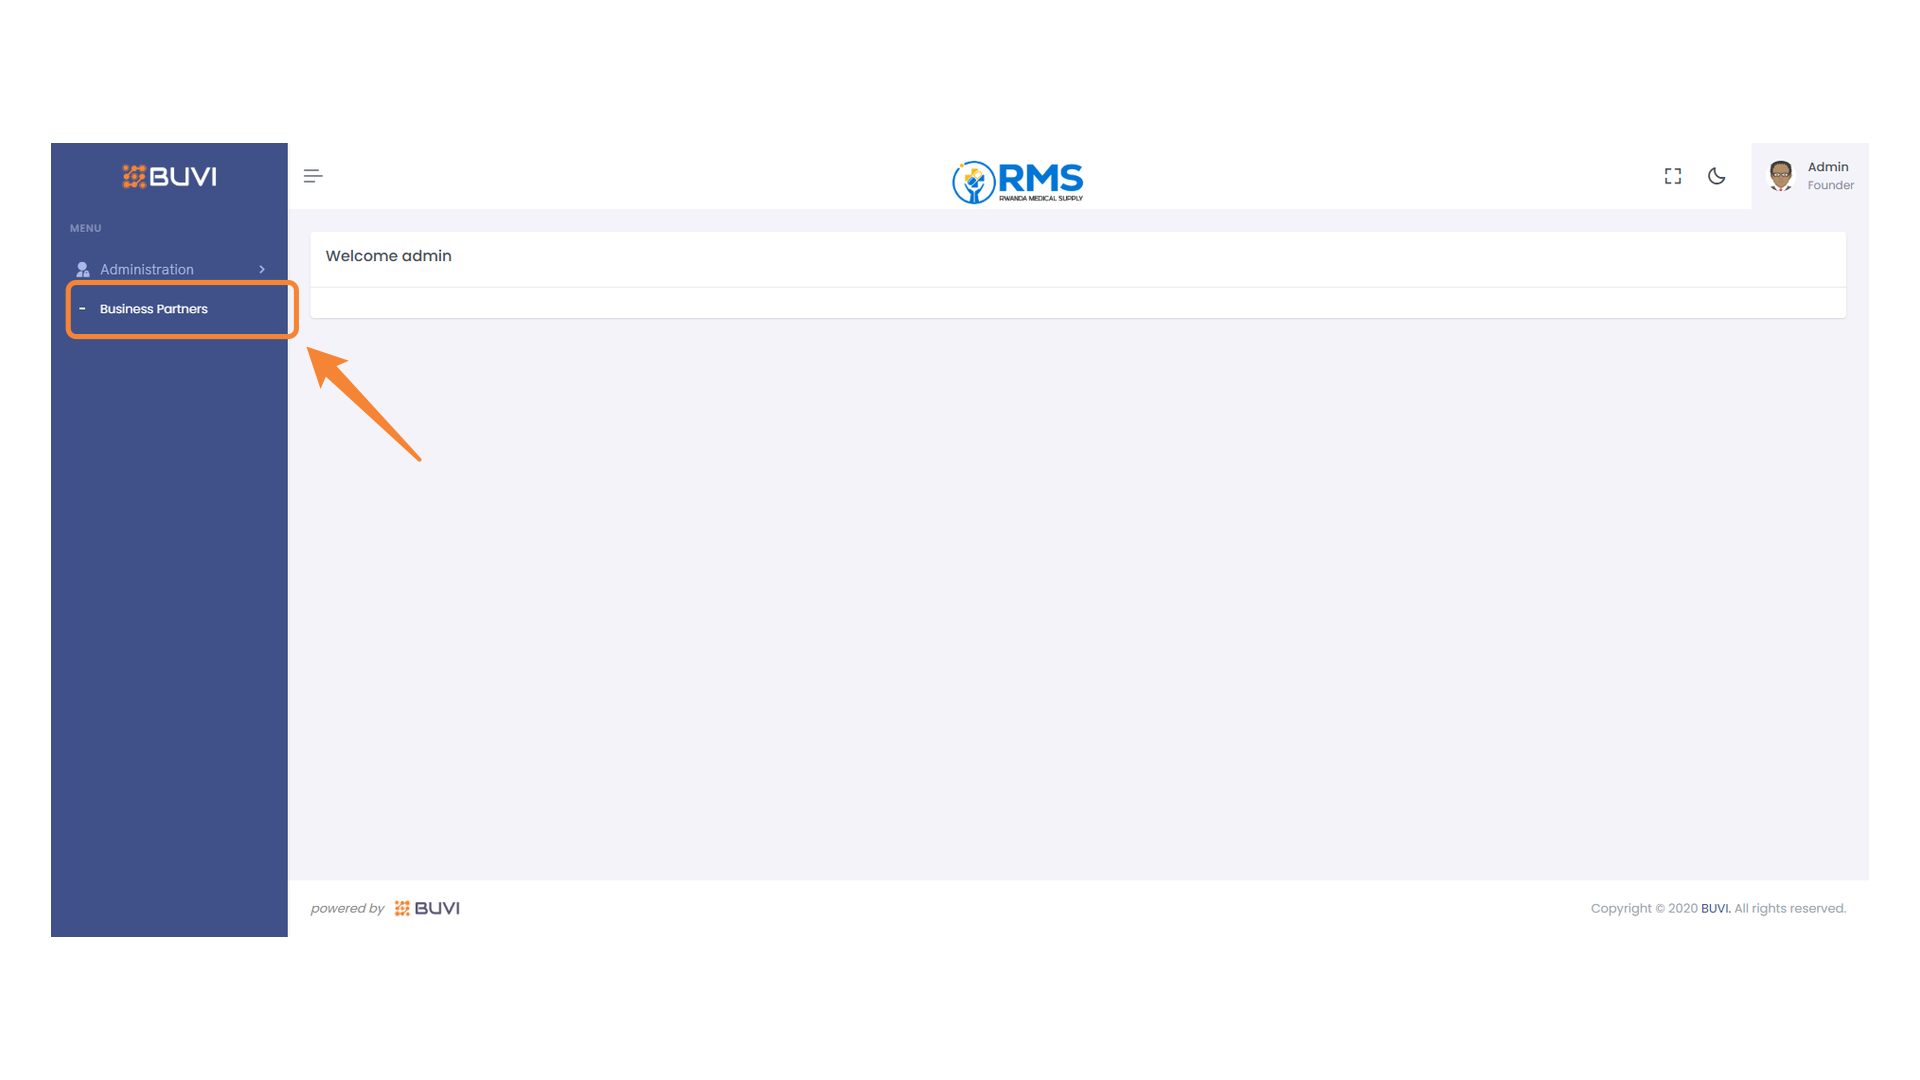
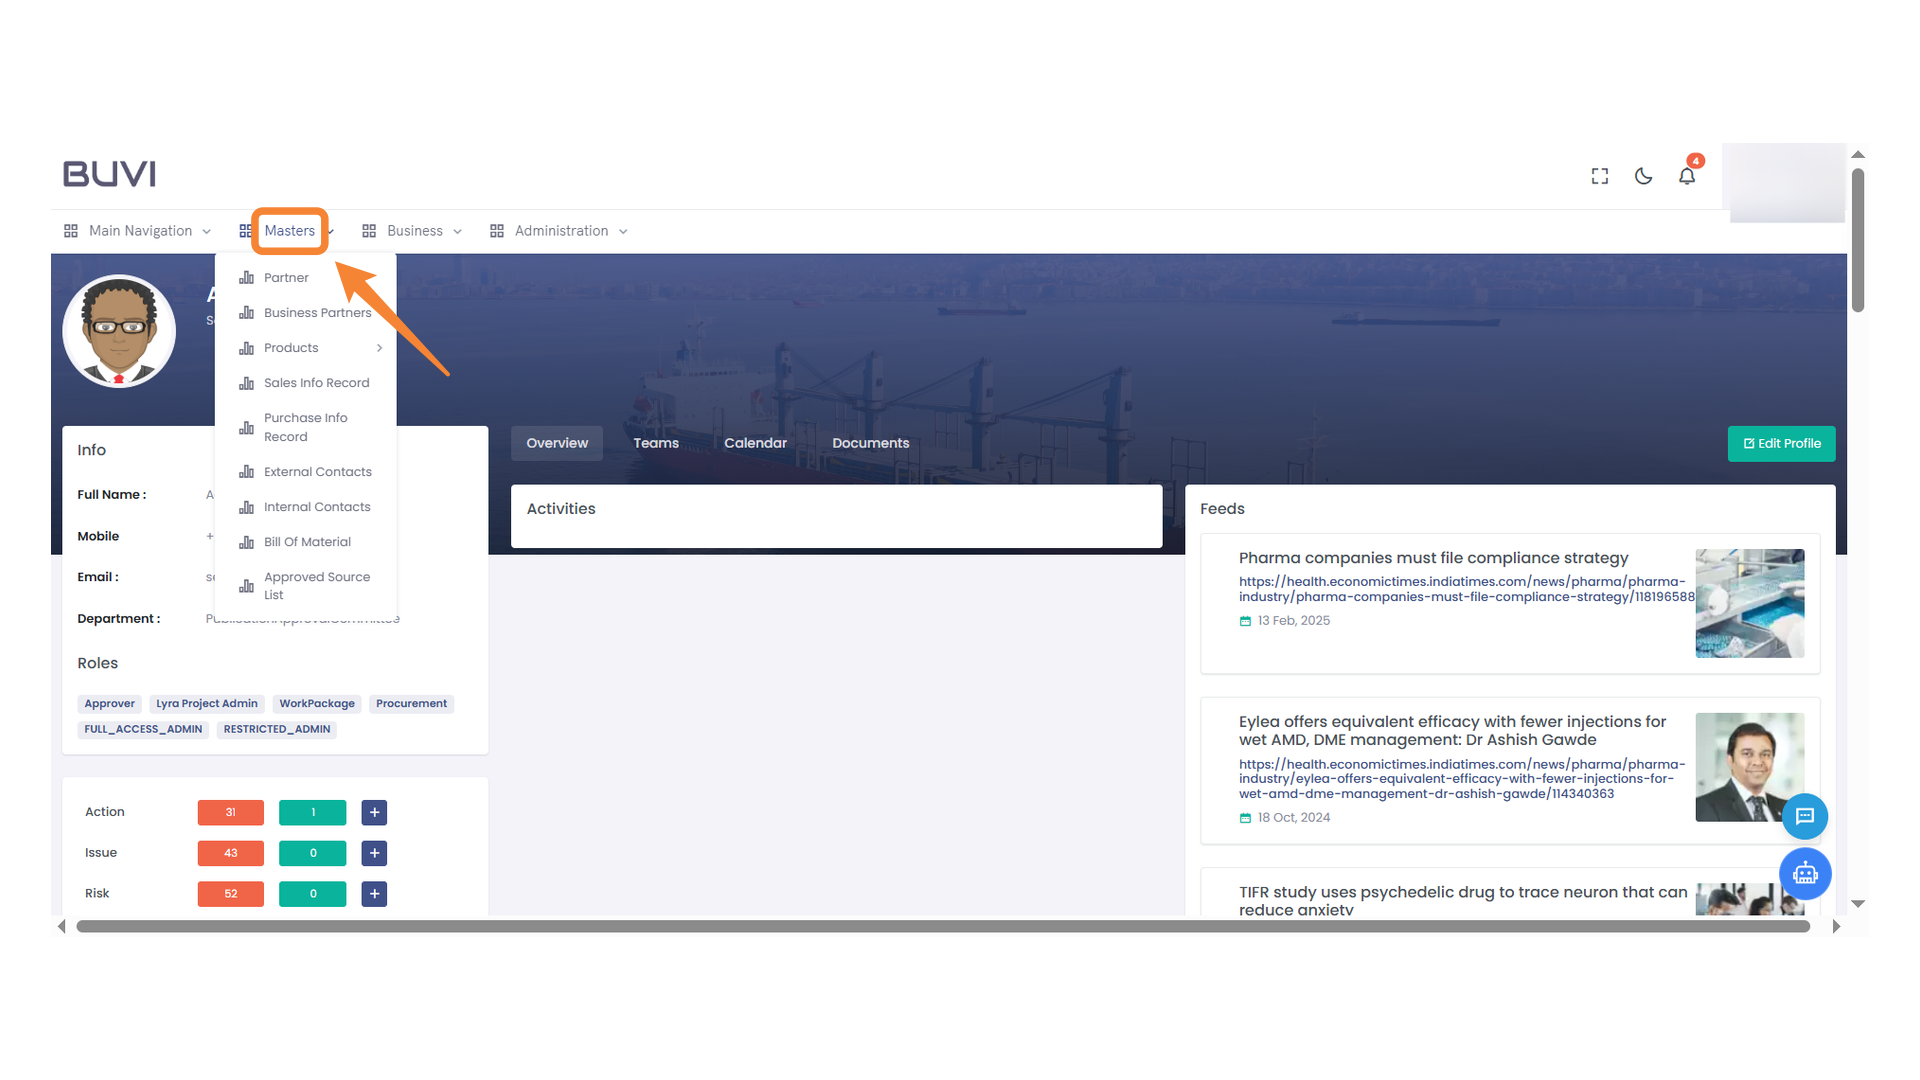
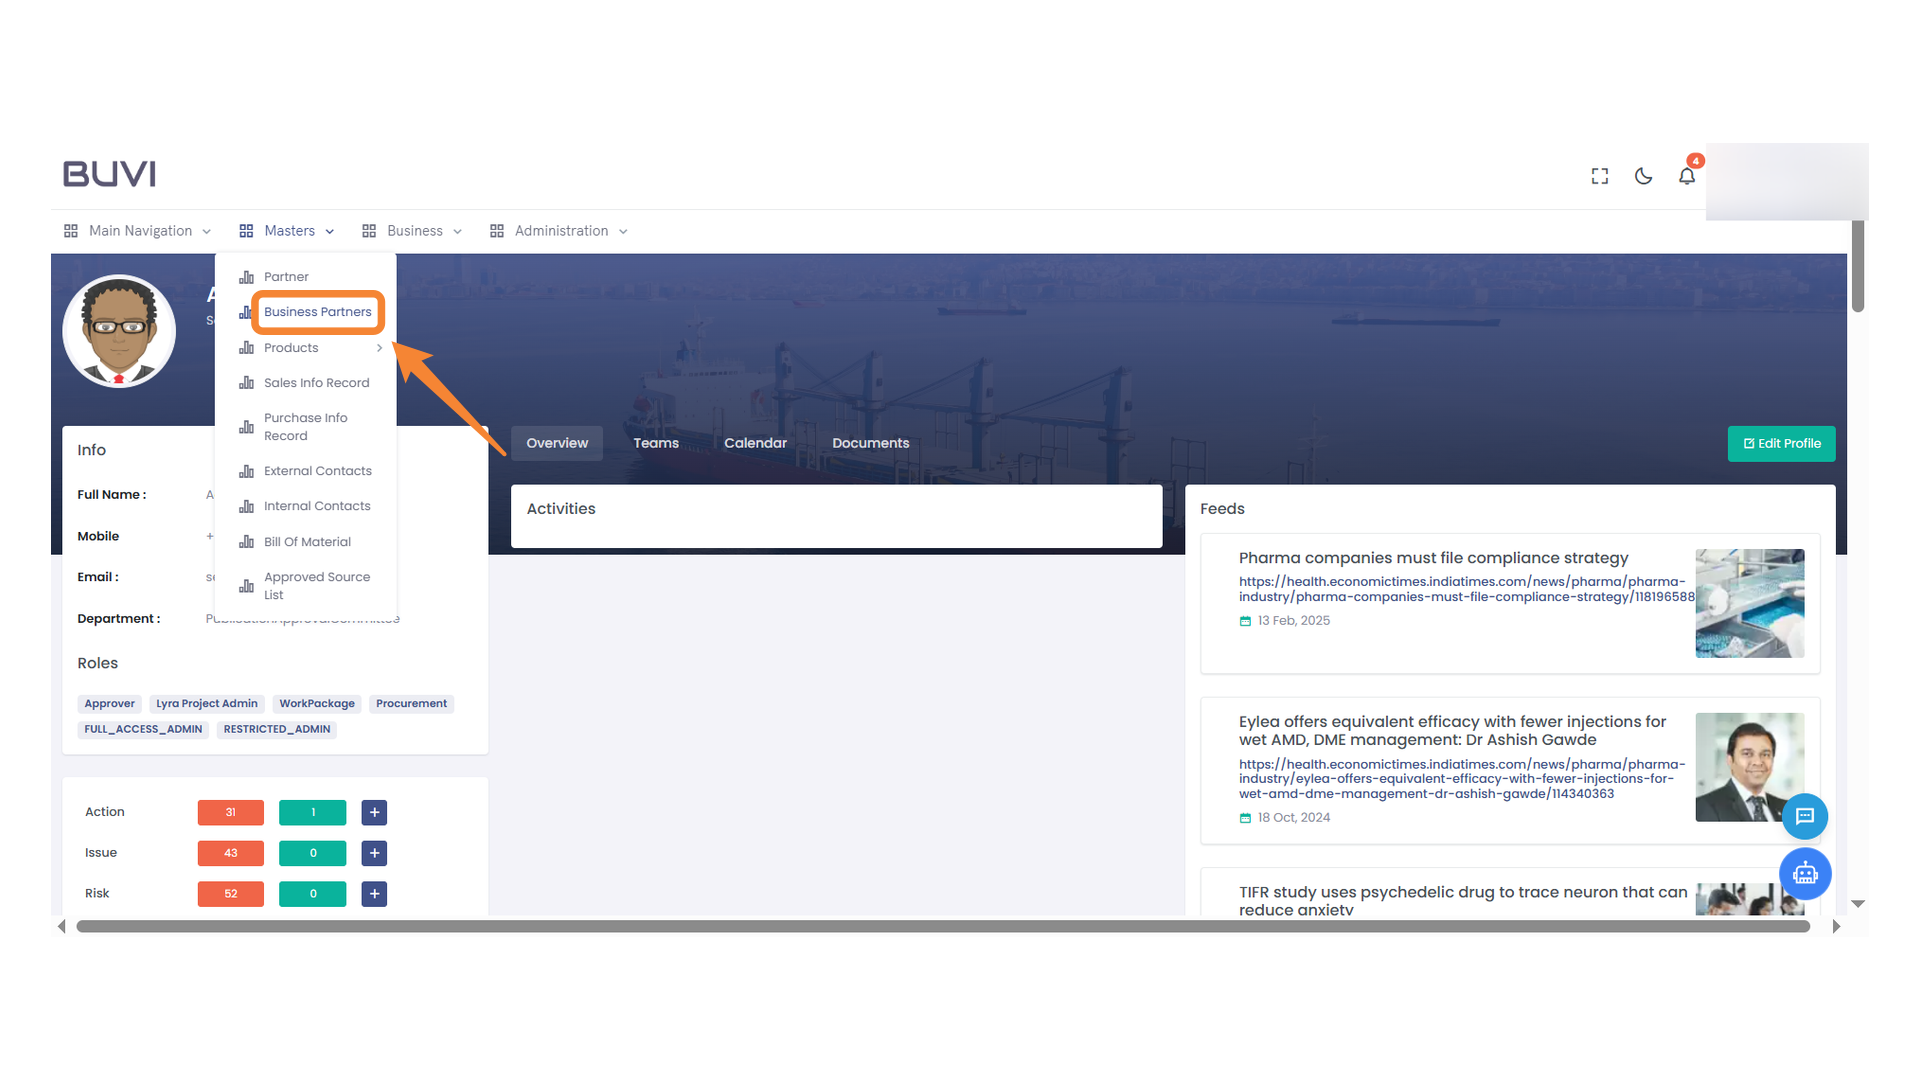
3. Business Partners Section
Navigate to the Business Partners section to manage collaborations.
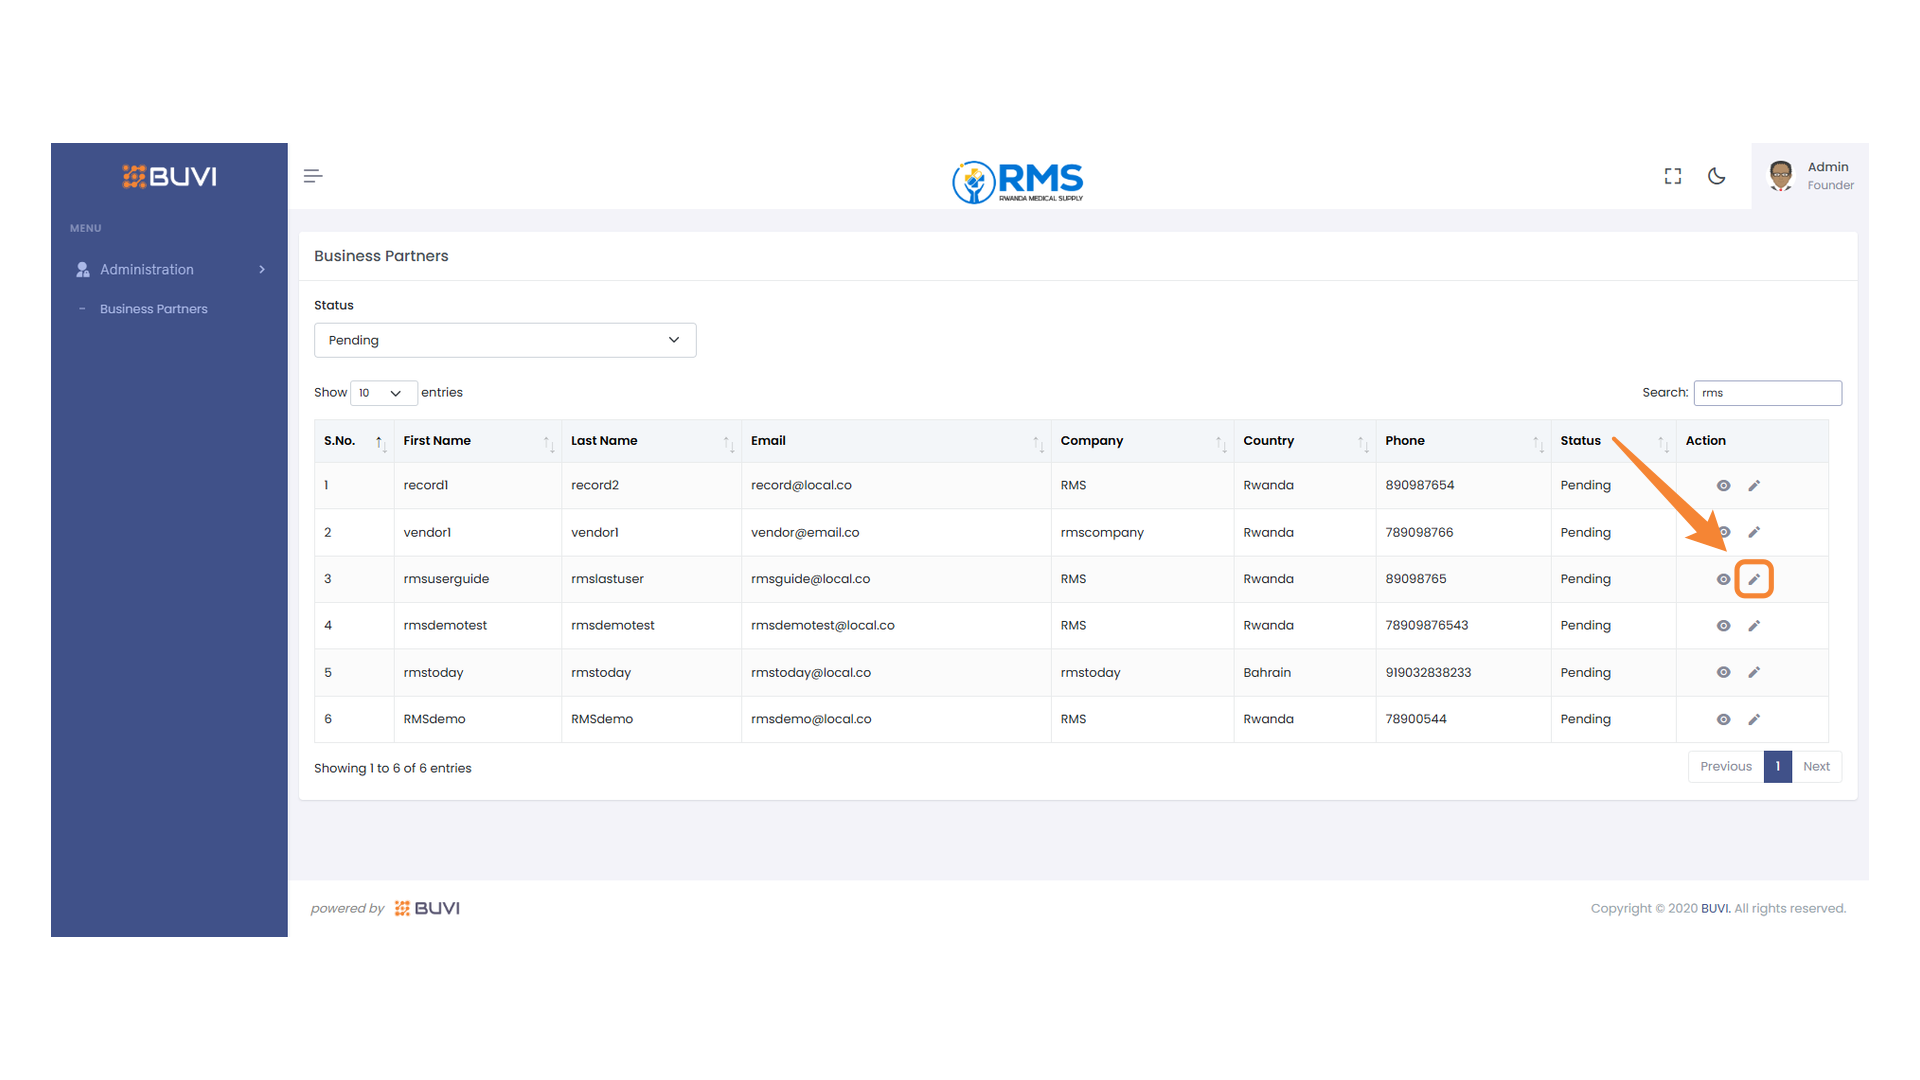
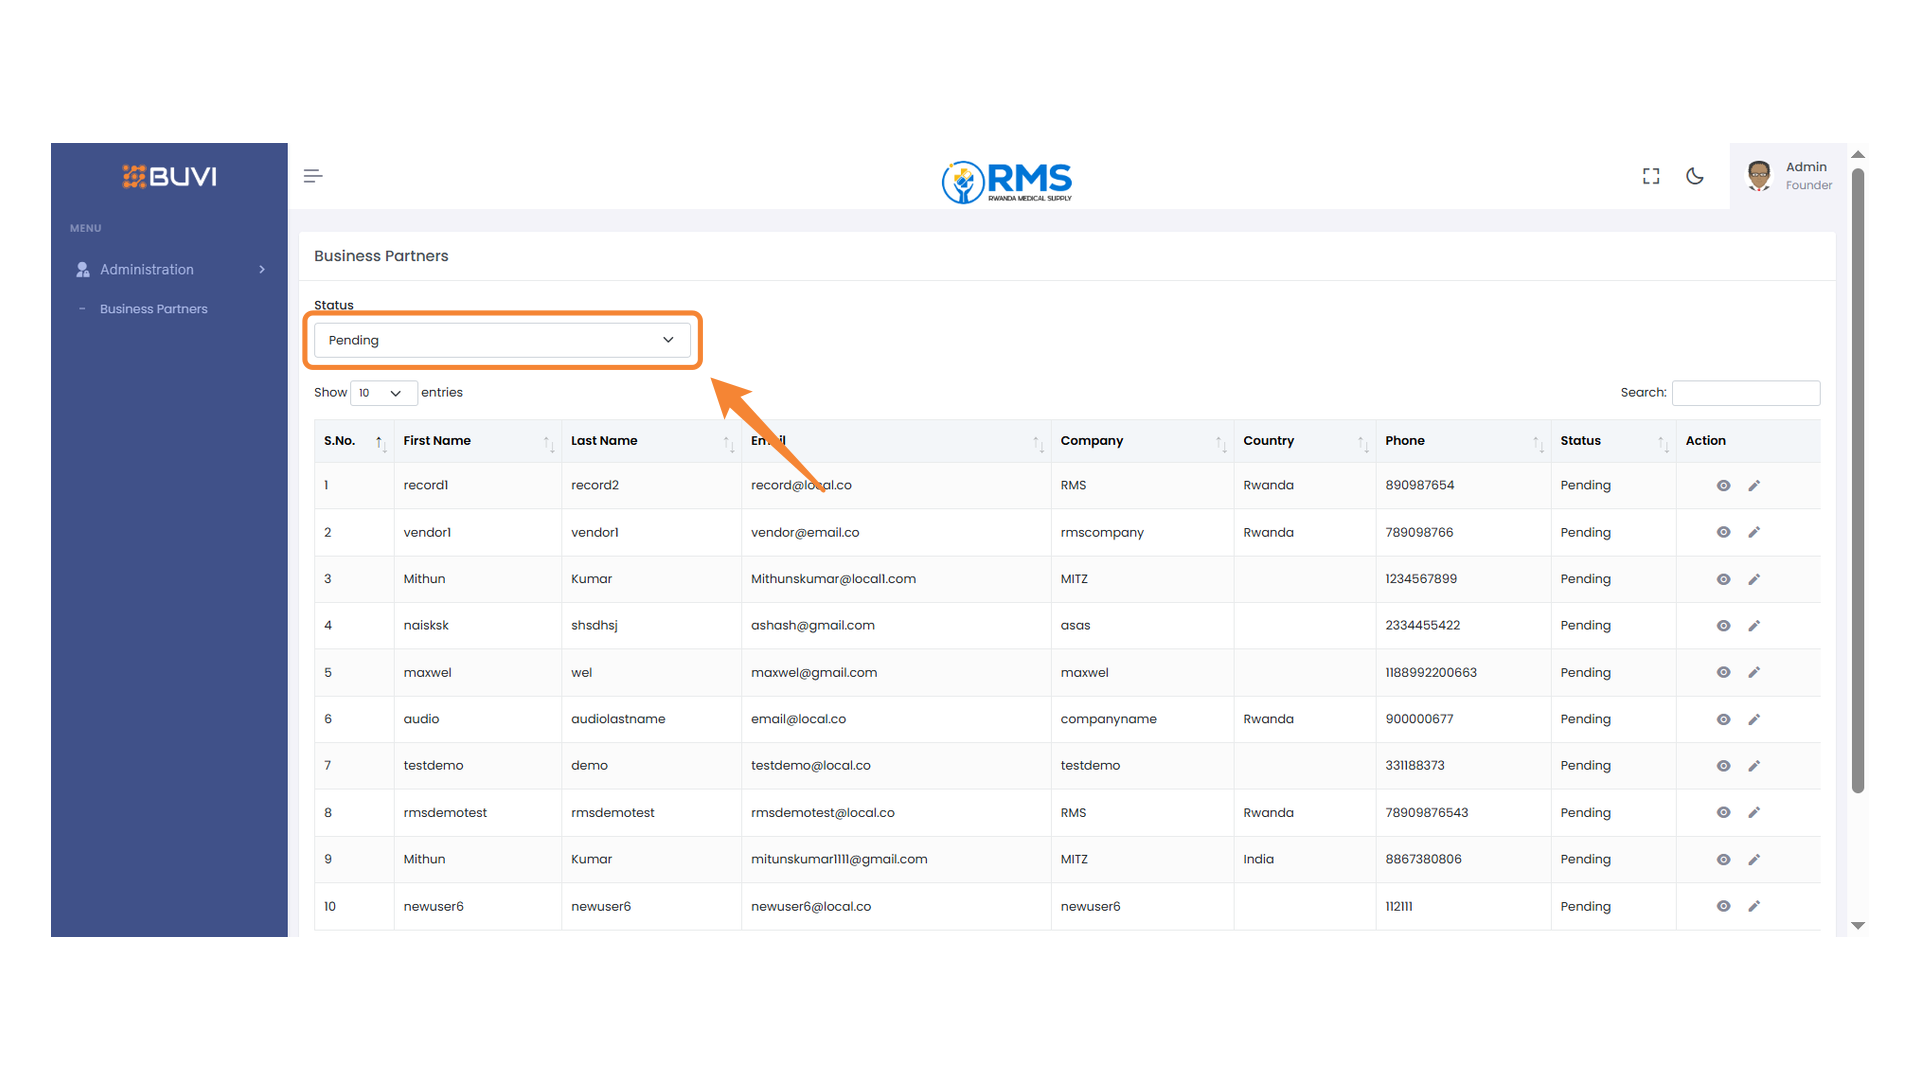
4. Status Filter
Select a status from the dropdown menu to filter the business partners list.

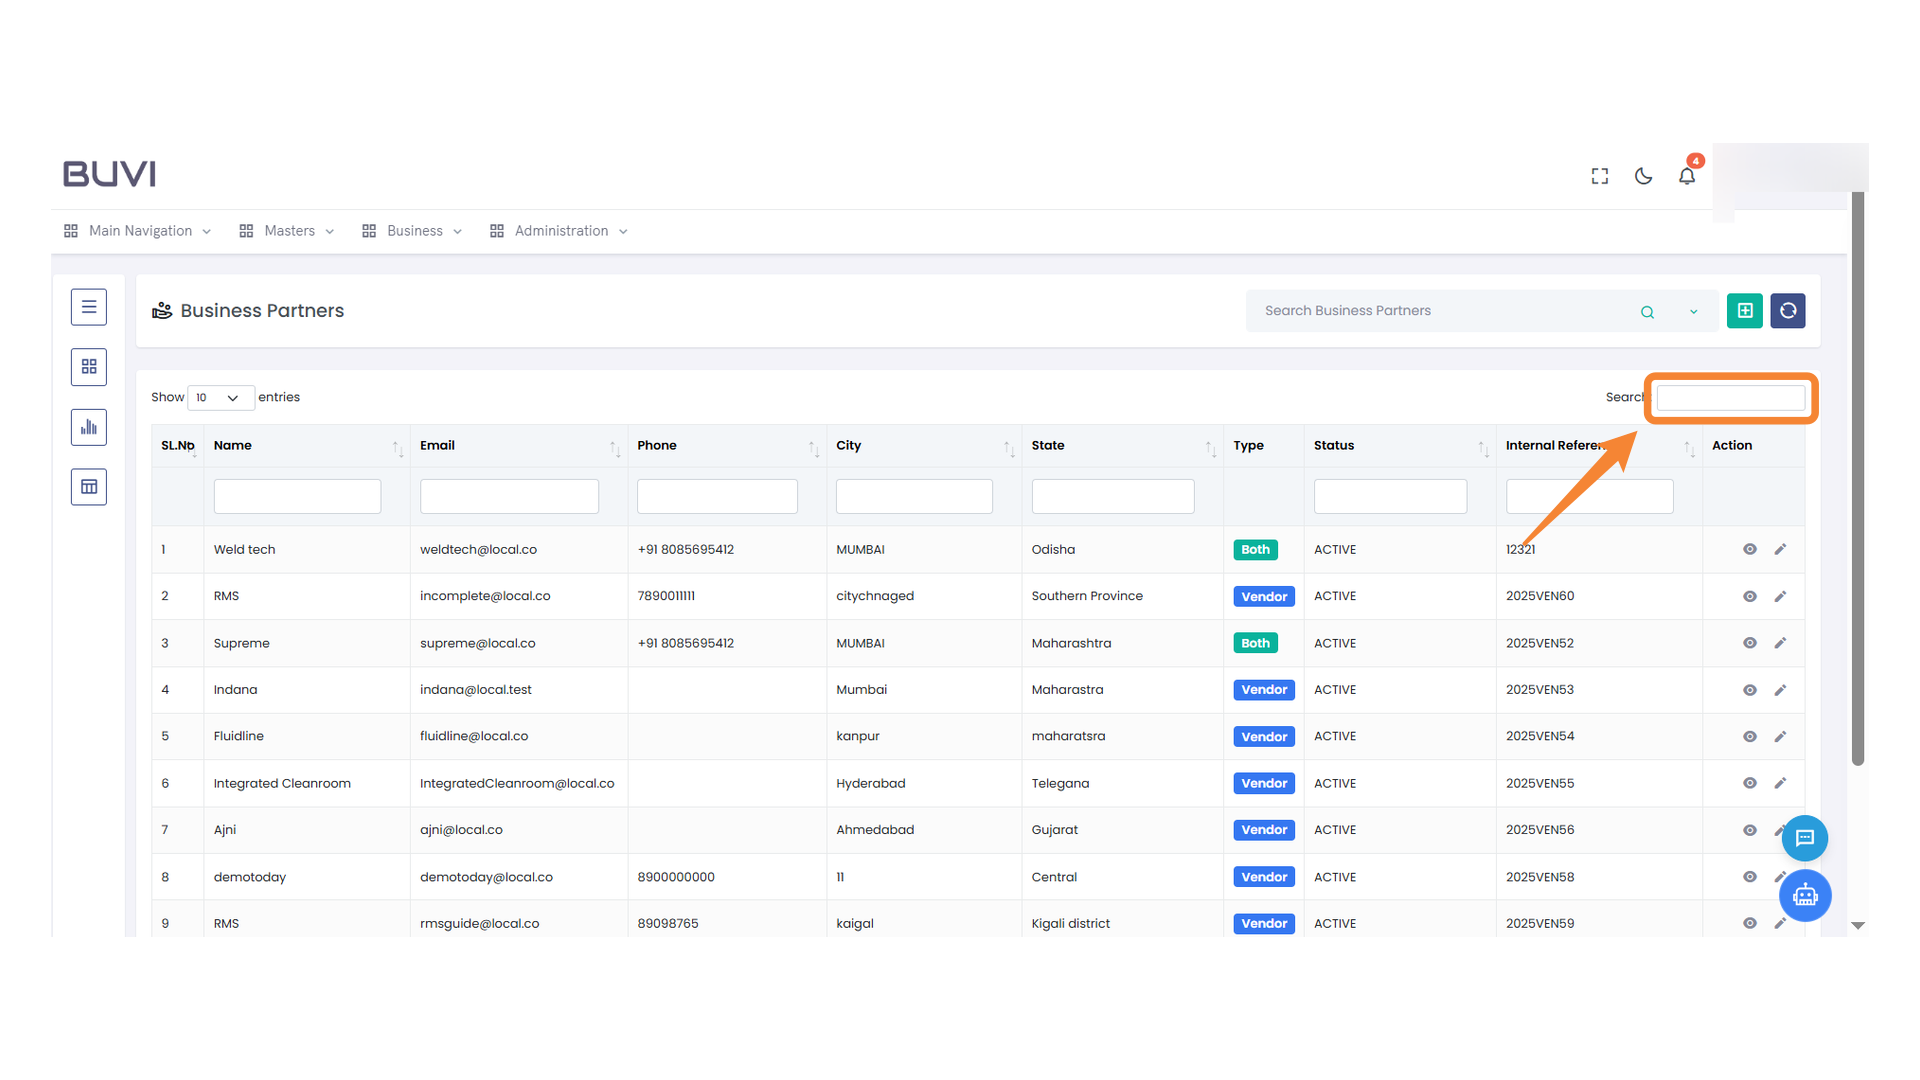
5. Search Bar
Enter your query to filter the results in the table.

6. Edit Action Icon
Click the pencil icon to edit this entry.
7. User Information Overview
Review and verify the user's personal and company information along with their current status.
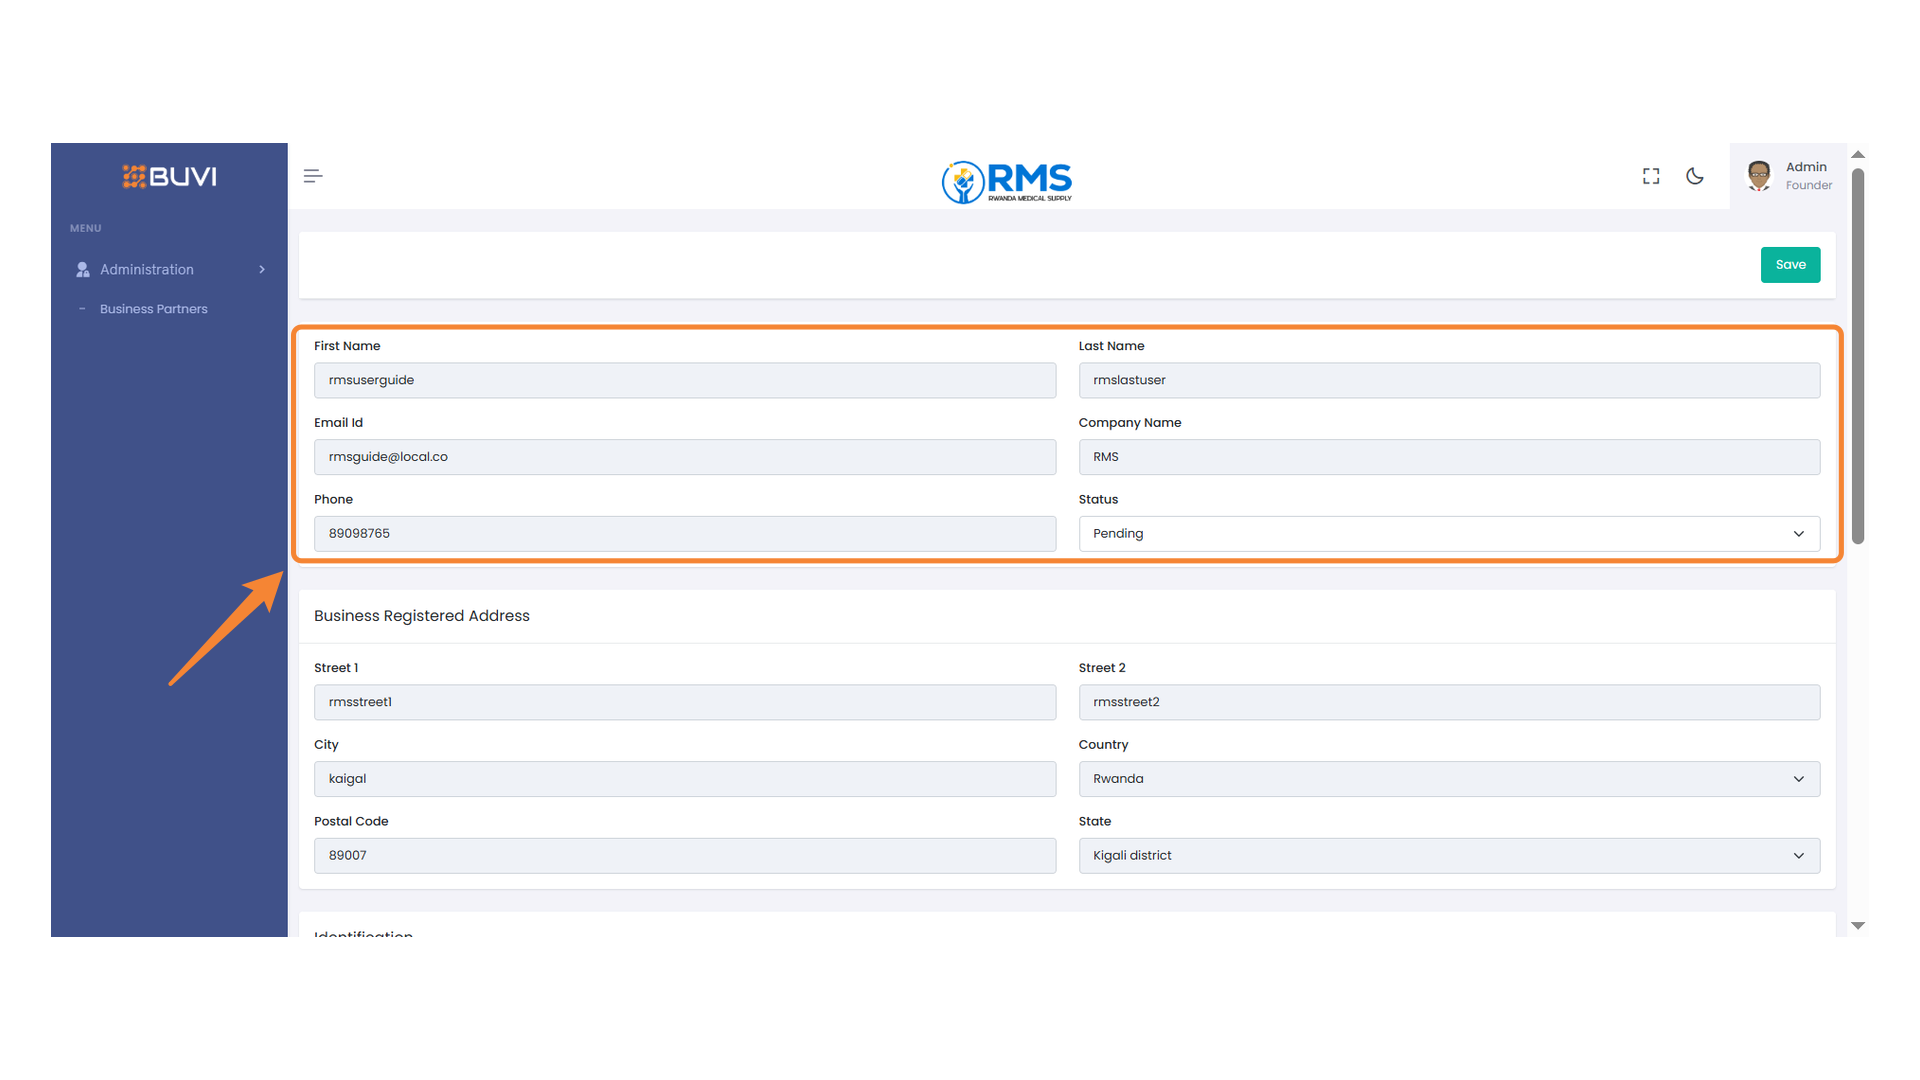
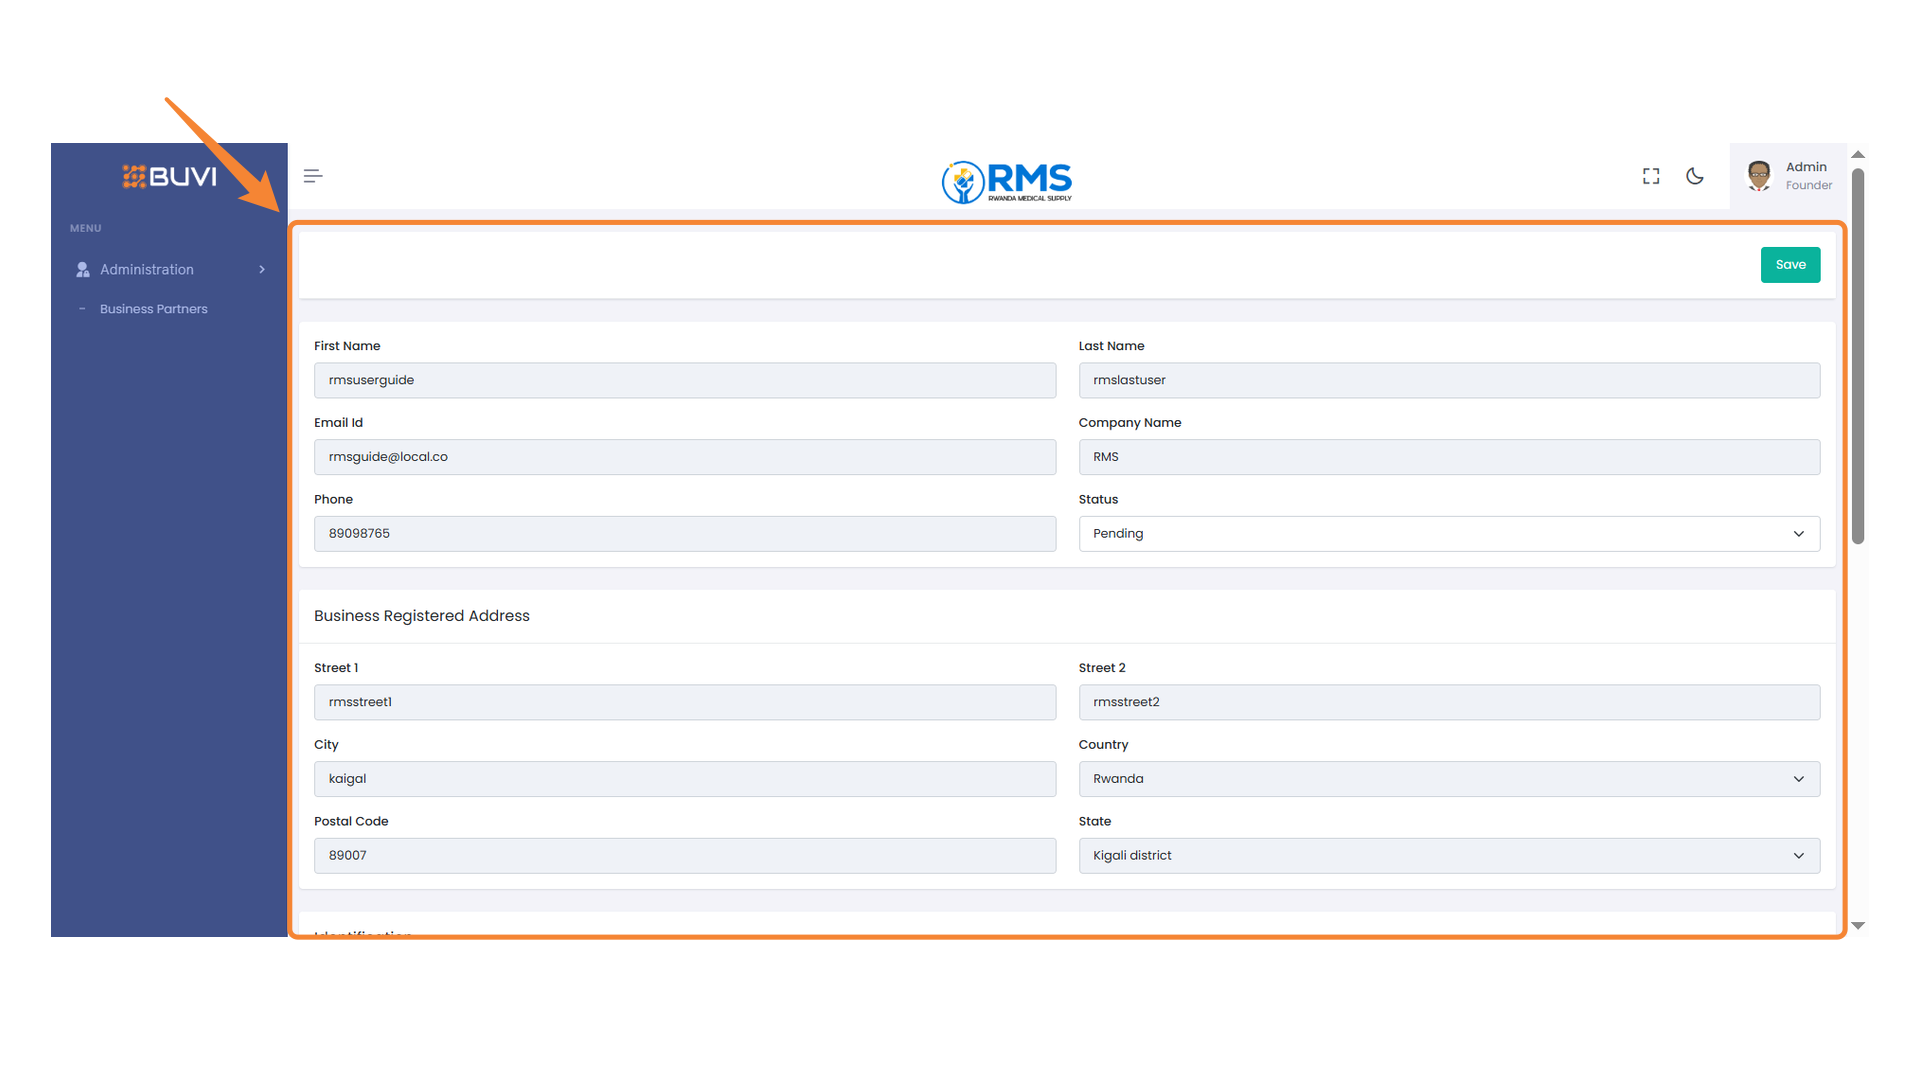
8. Business Partner Information Form
Review all the fields
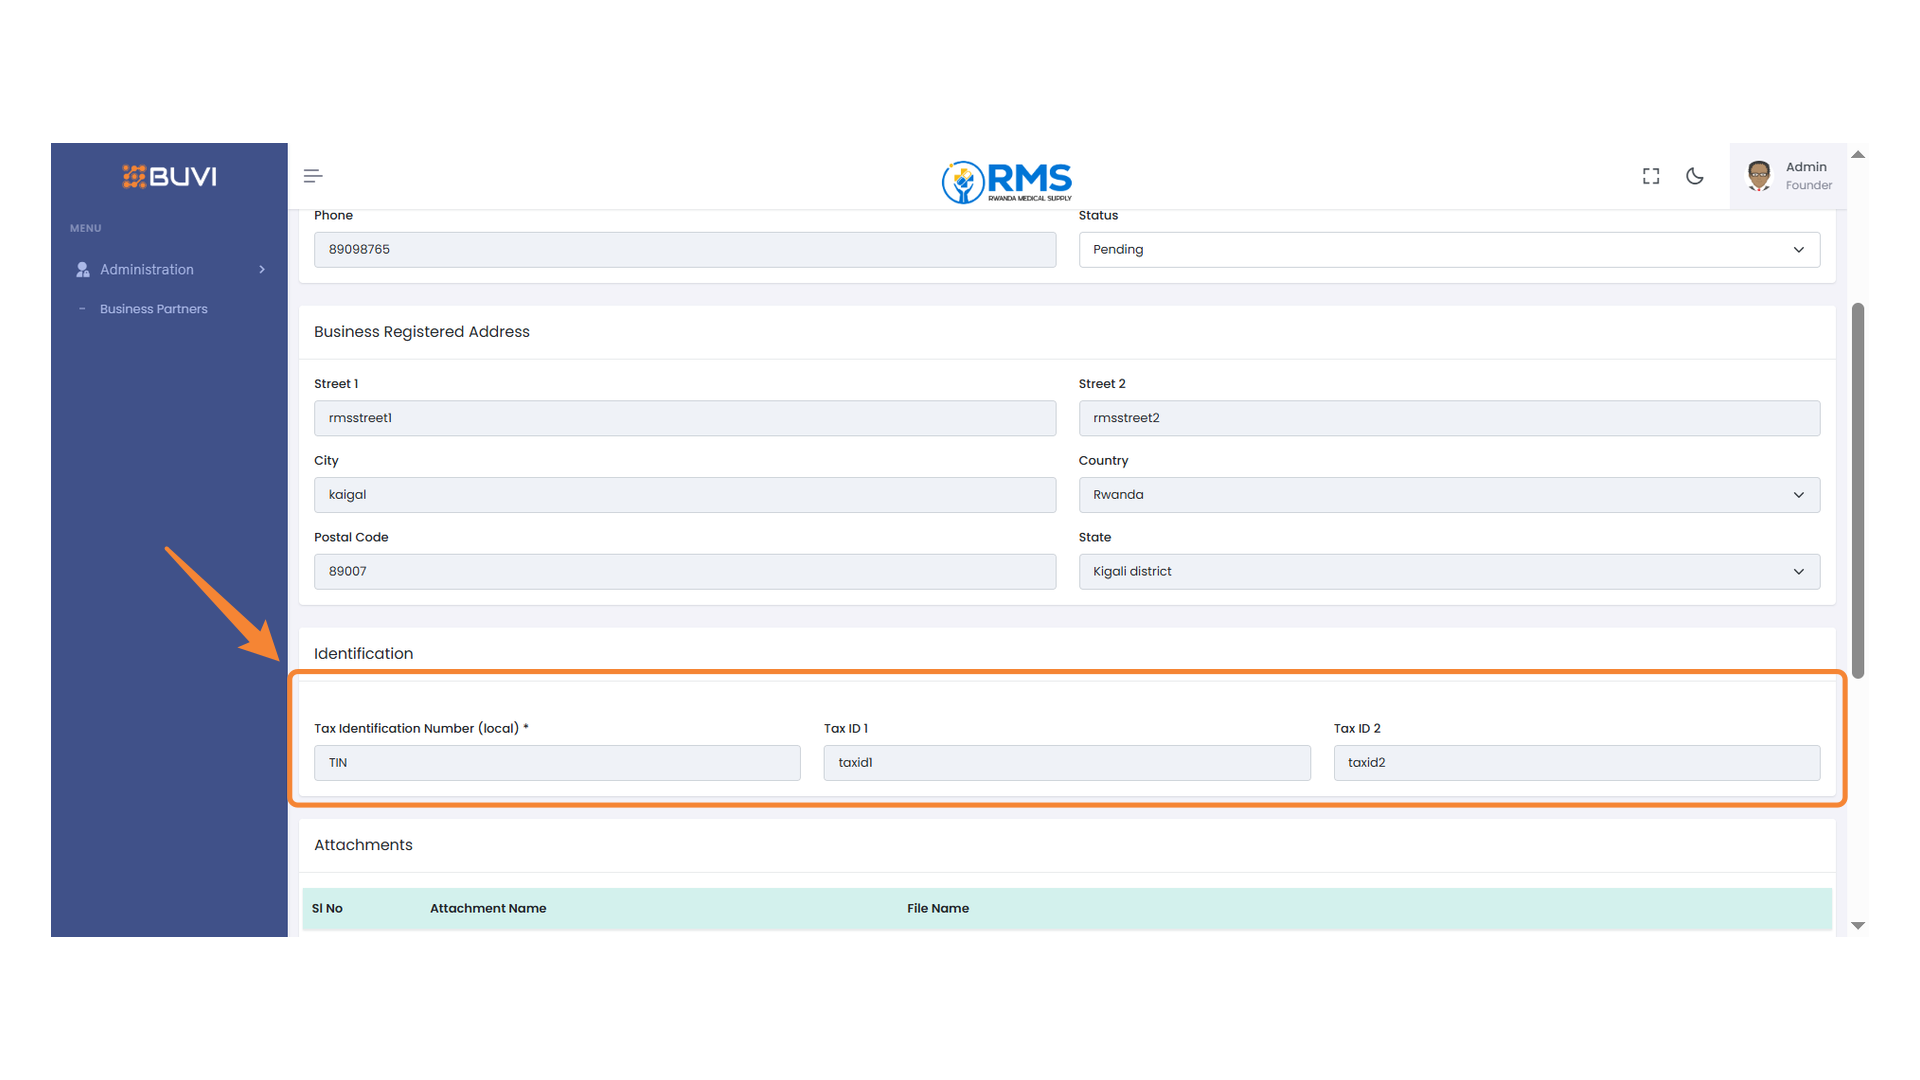
9. Tax Identification Section
Review the Tax details
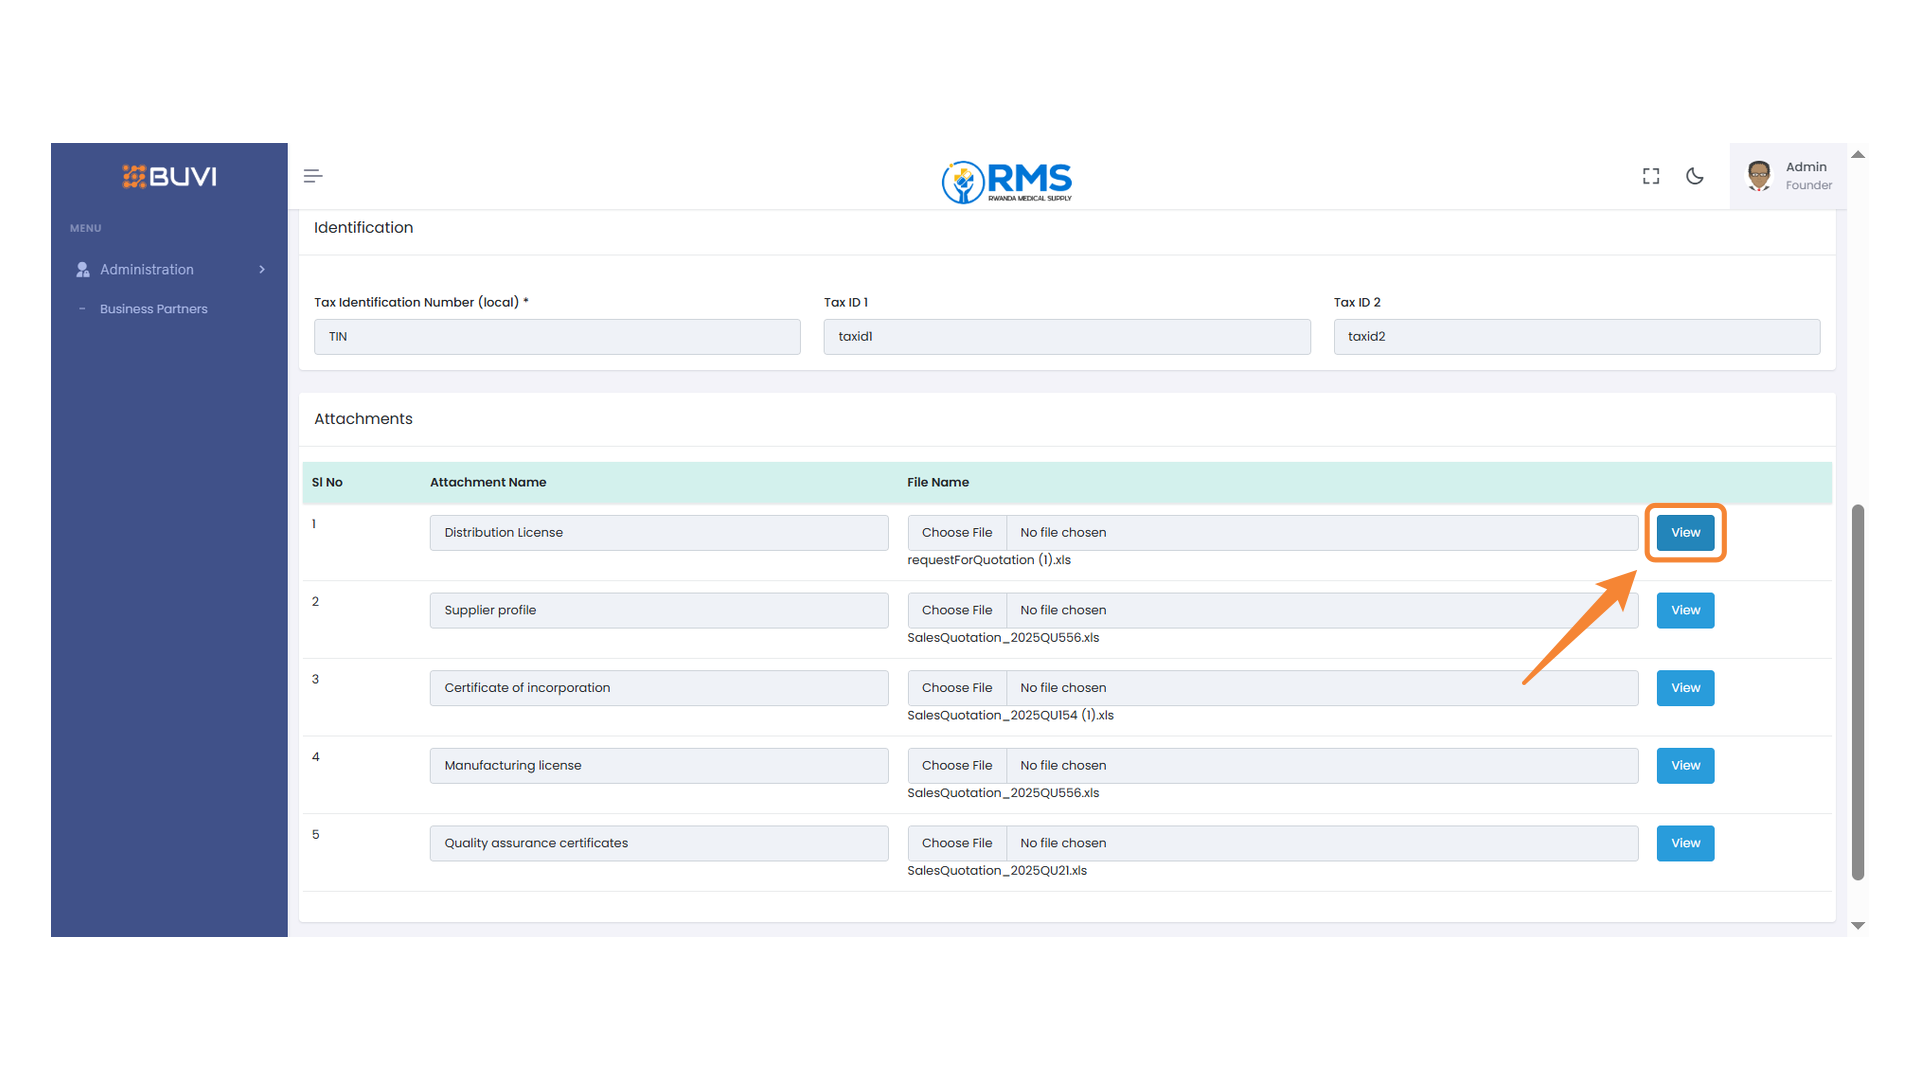
10. View Button for Distribution License
Click this view button to view the details of the distribution license.
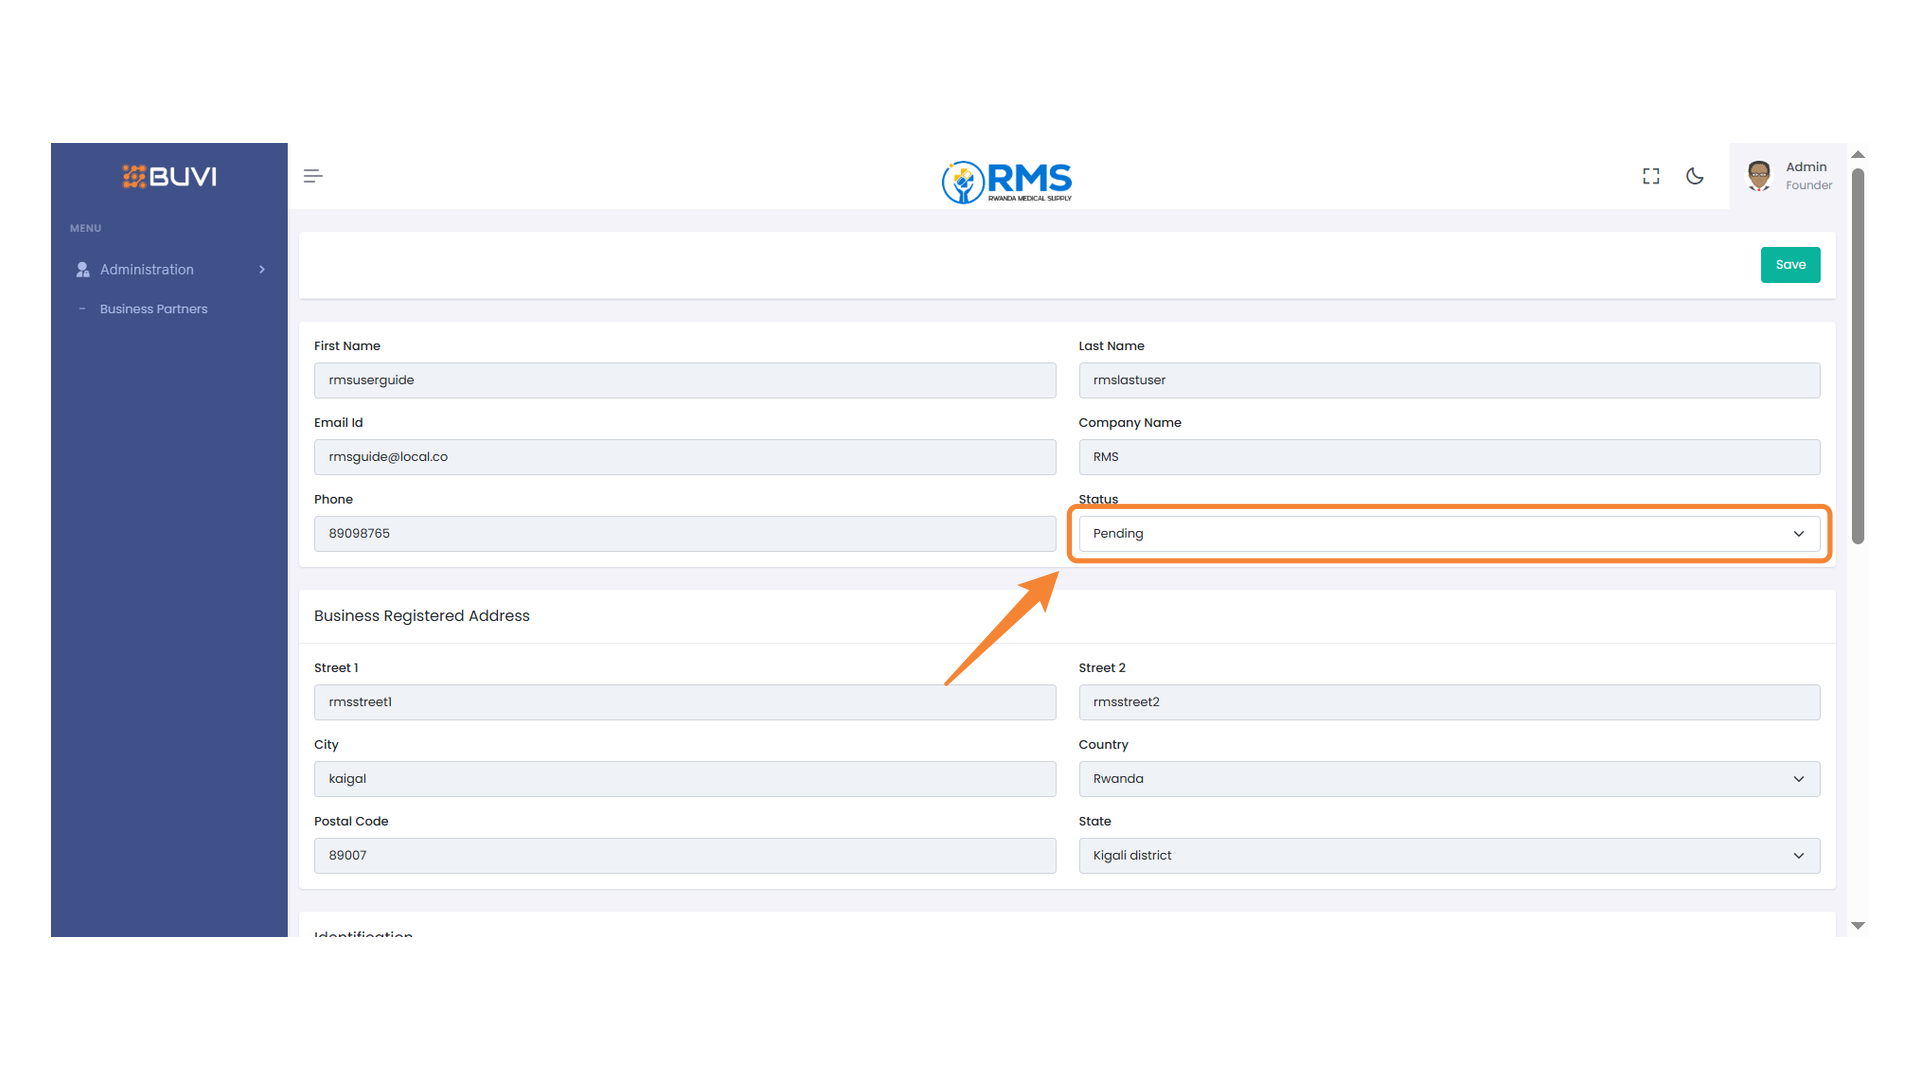
11. Status Selection
Review the status of the vendor and make a selection from the dropdown options to Qualify the Vendor
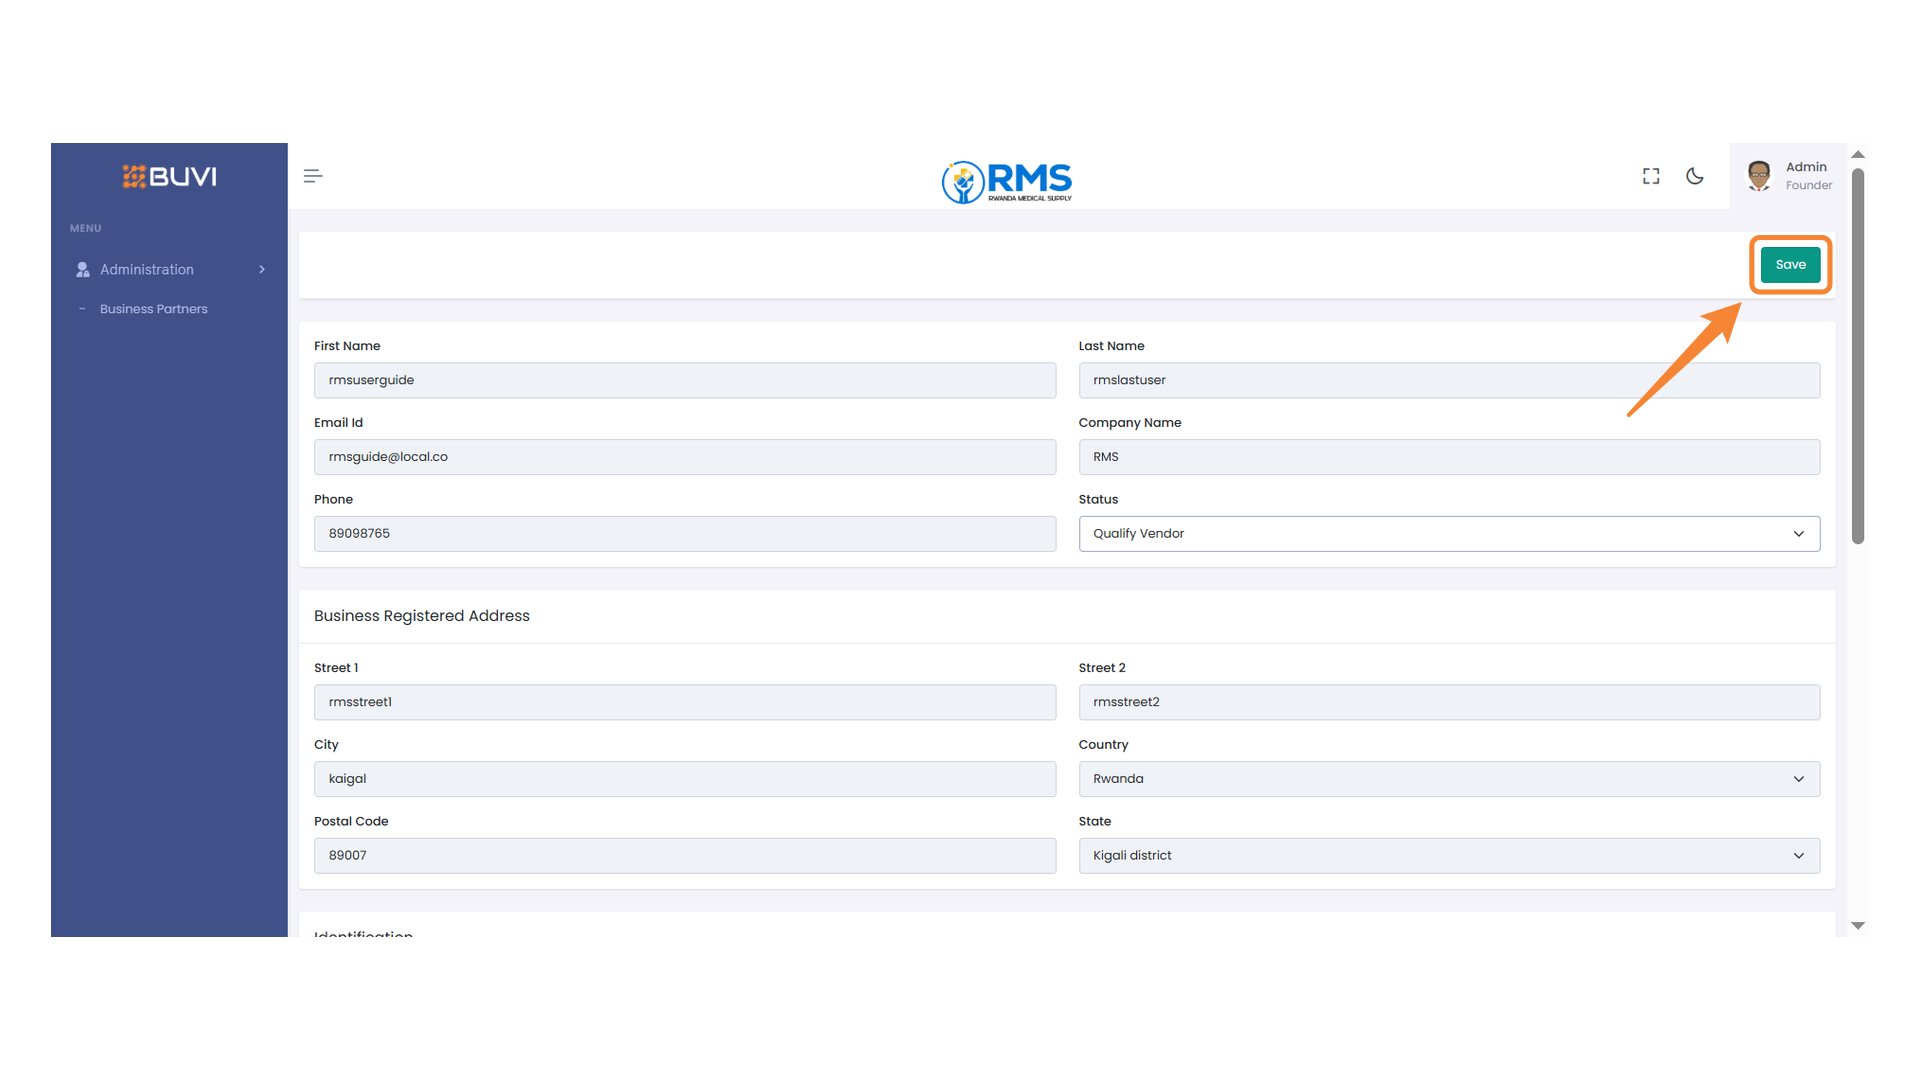
12. Save Button
Click this button to save
13. Status Filter Dropdown
Select a status to filter the business partners list for Qualified Vendors
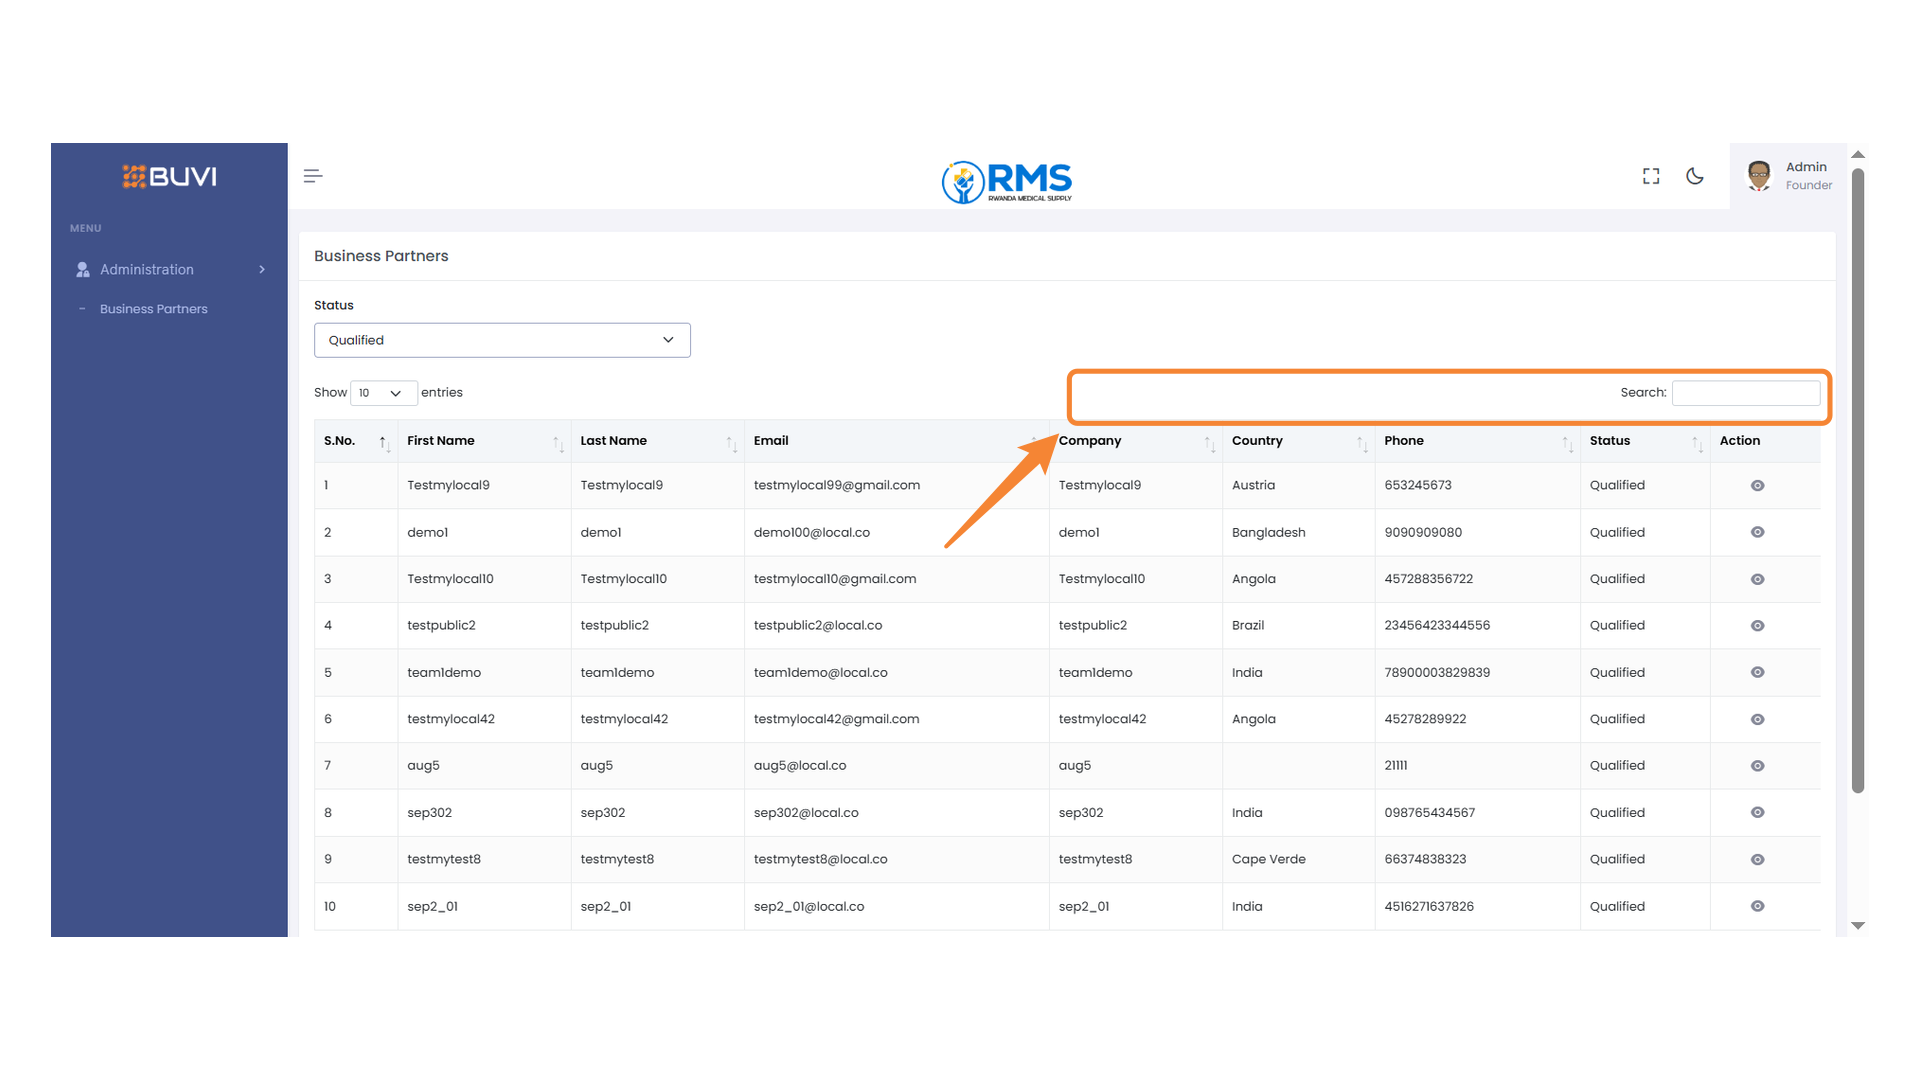
14. Search Bar
Enter keywords to filter the table data efficiently.
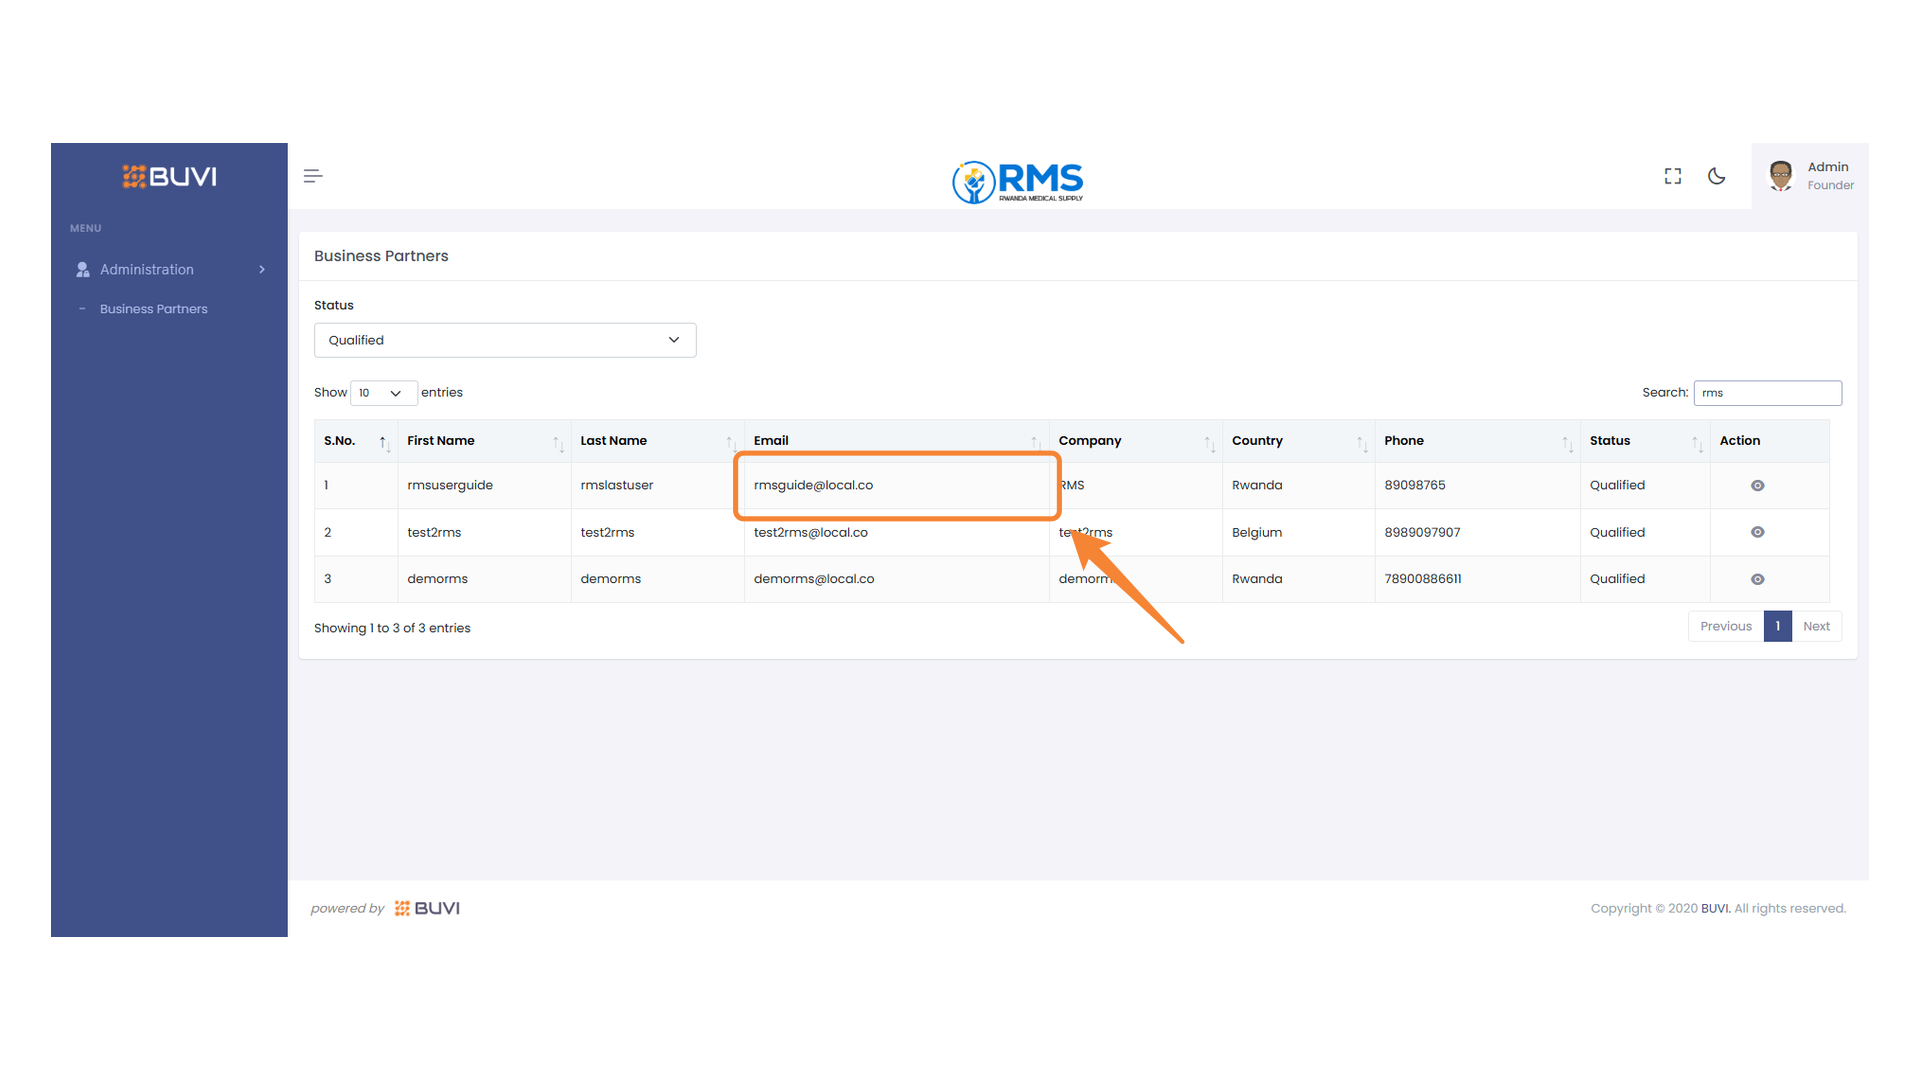
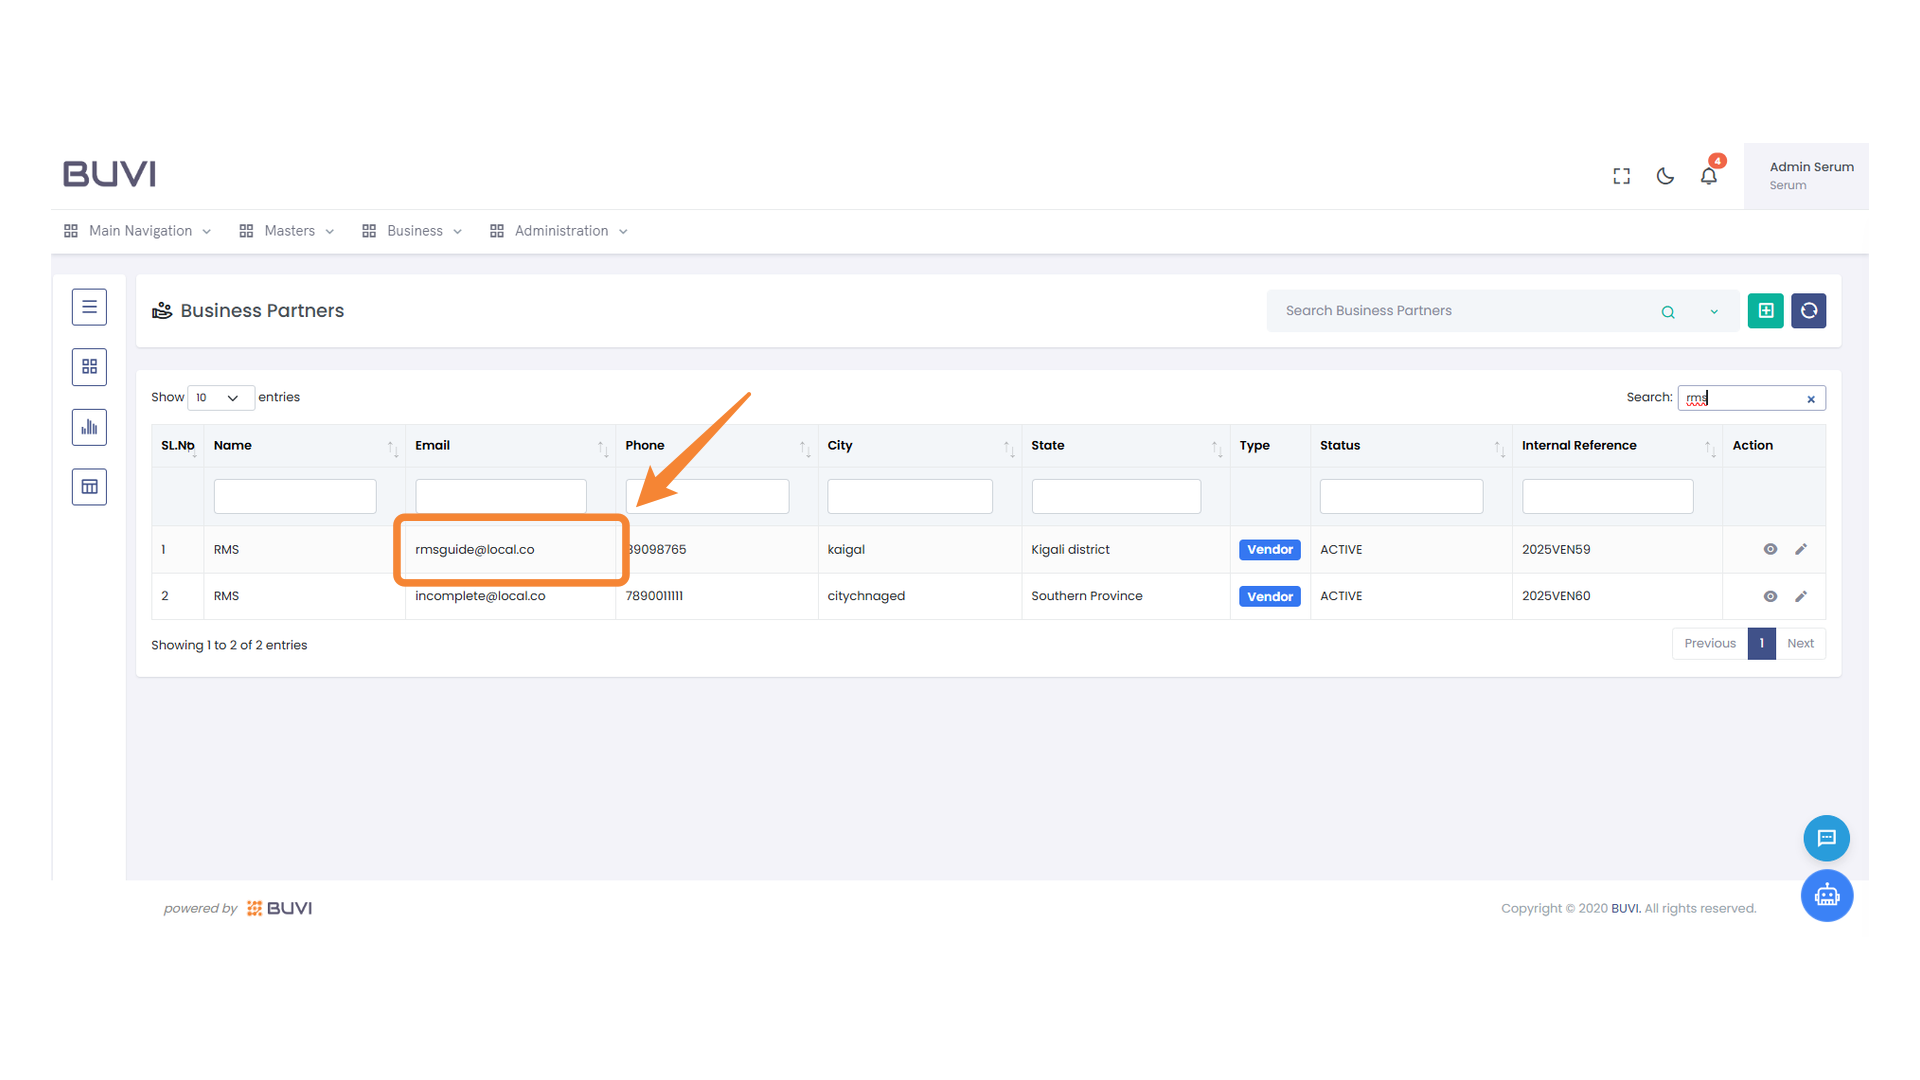
15. Search Bar in Business Partners Section
Enter a keyword to filter the list of business partners.

16. Highlighted Email Address
Identify the contact email for the RMS user by viewing the highlighted section.
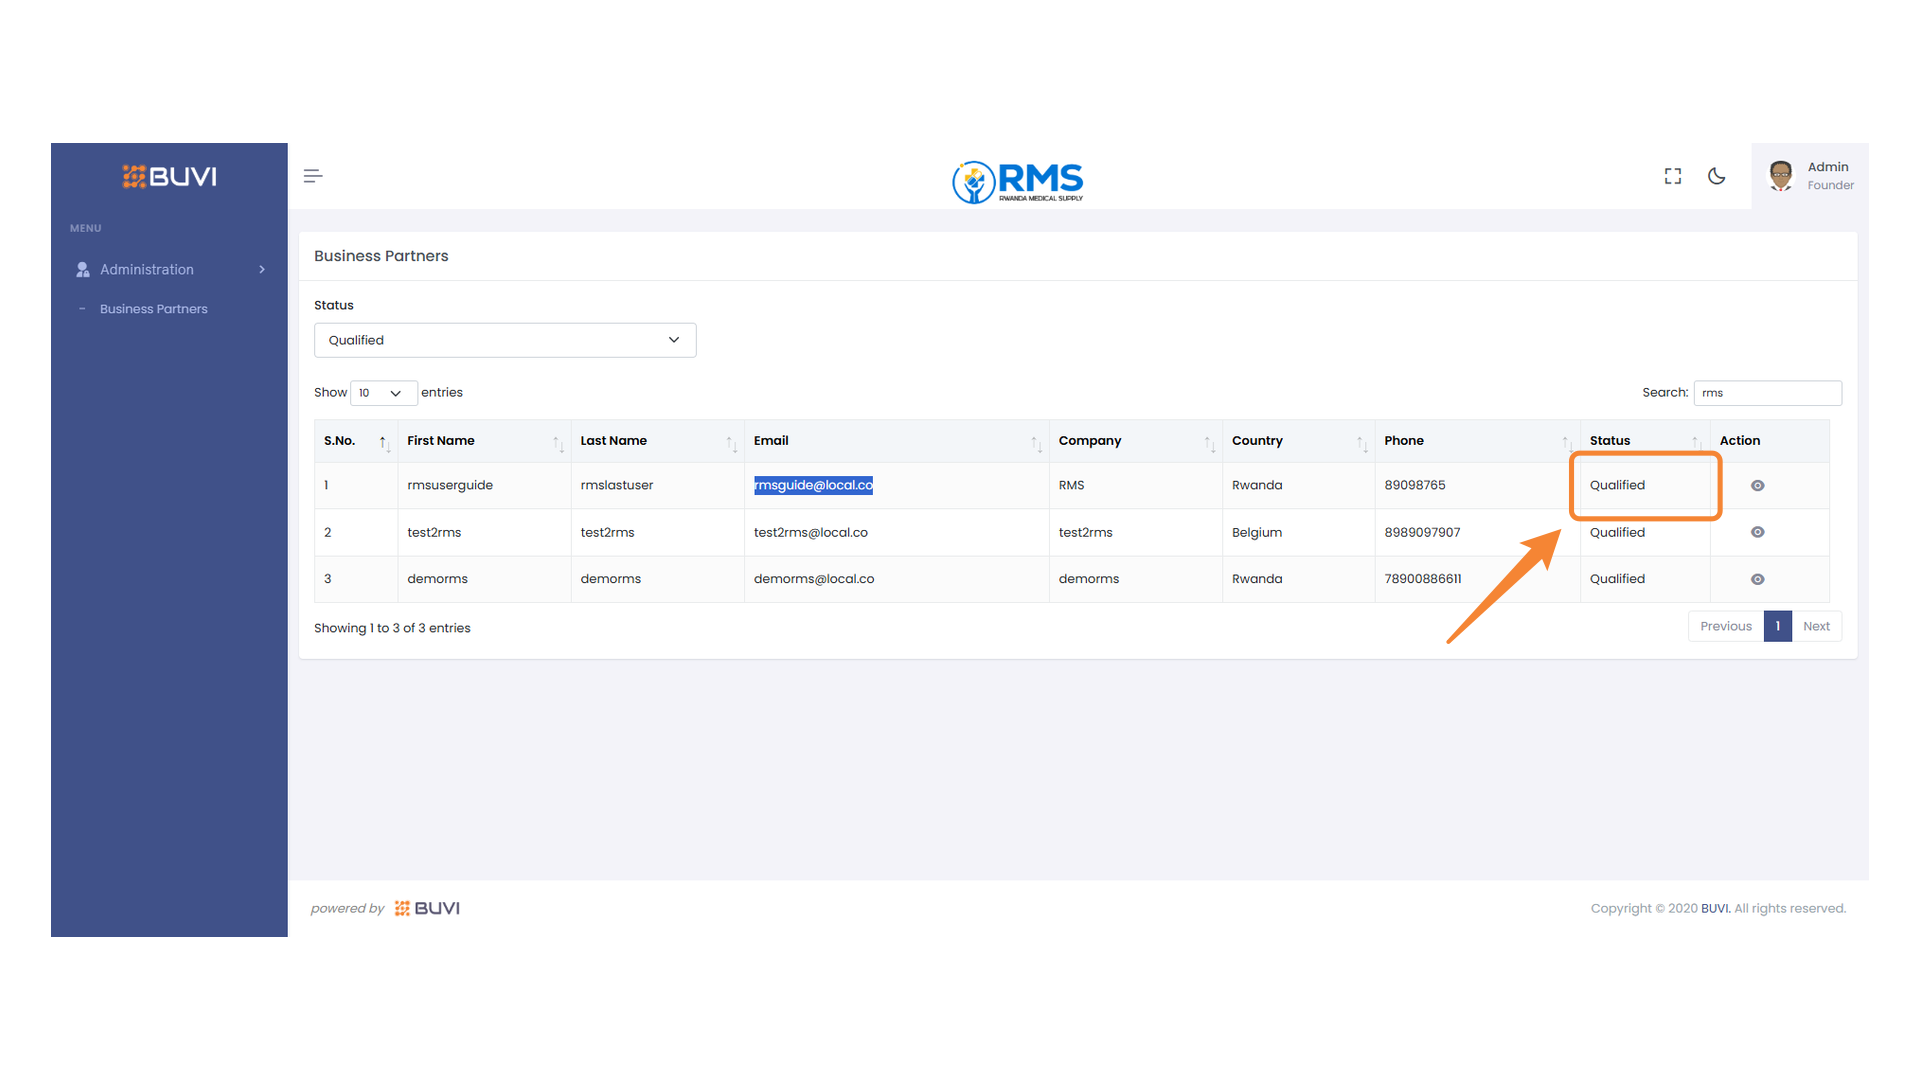
17. Qualified Status Indicator
Verify the qualified status of business partners in this table.
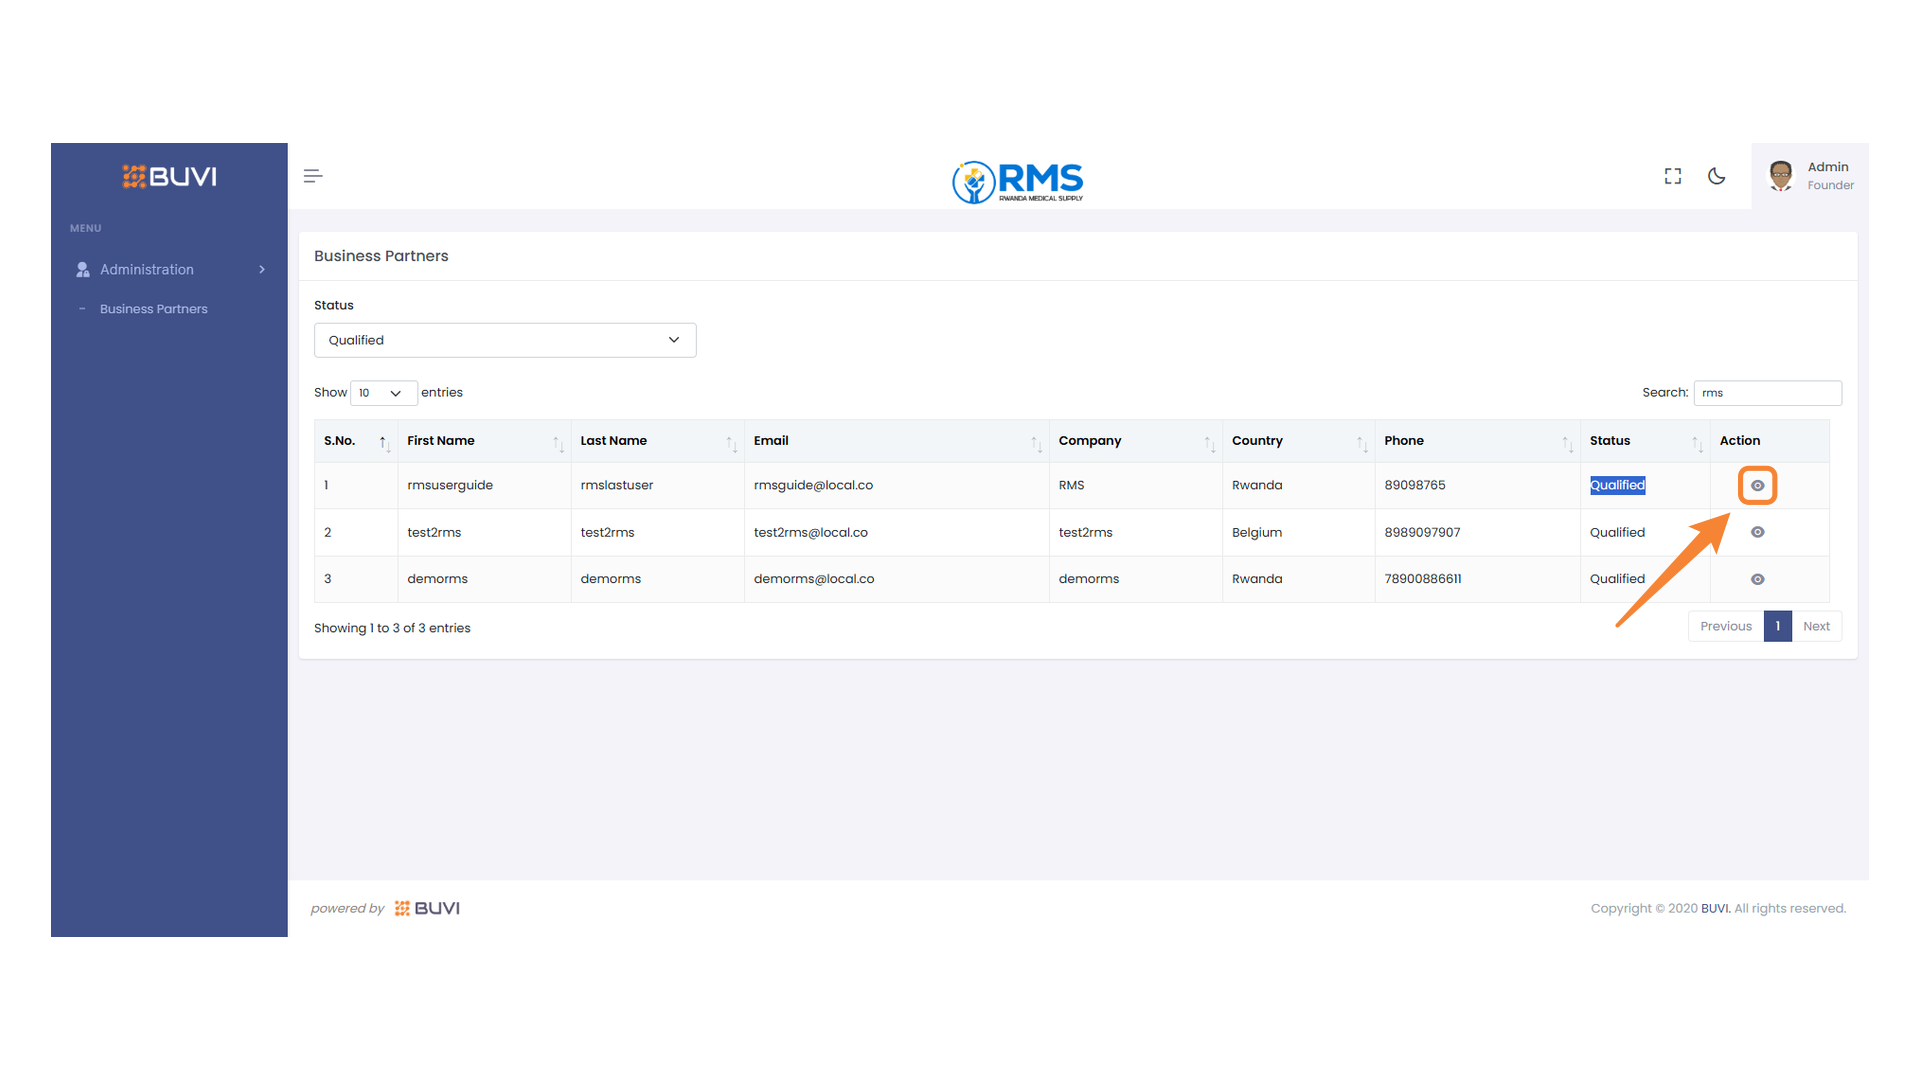
18. Action Button Overview
Click the view button to Verify
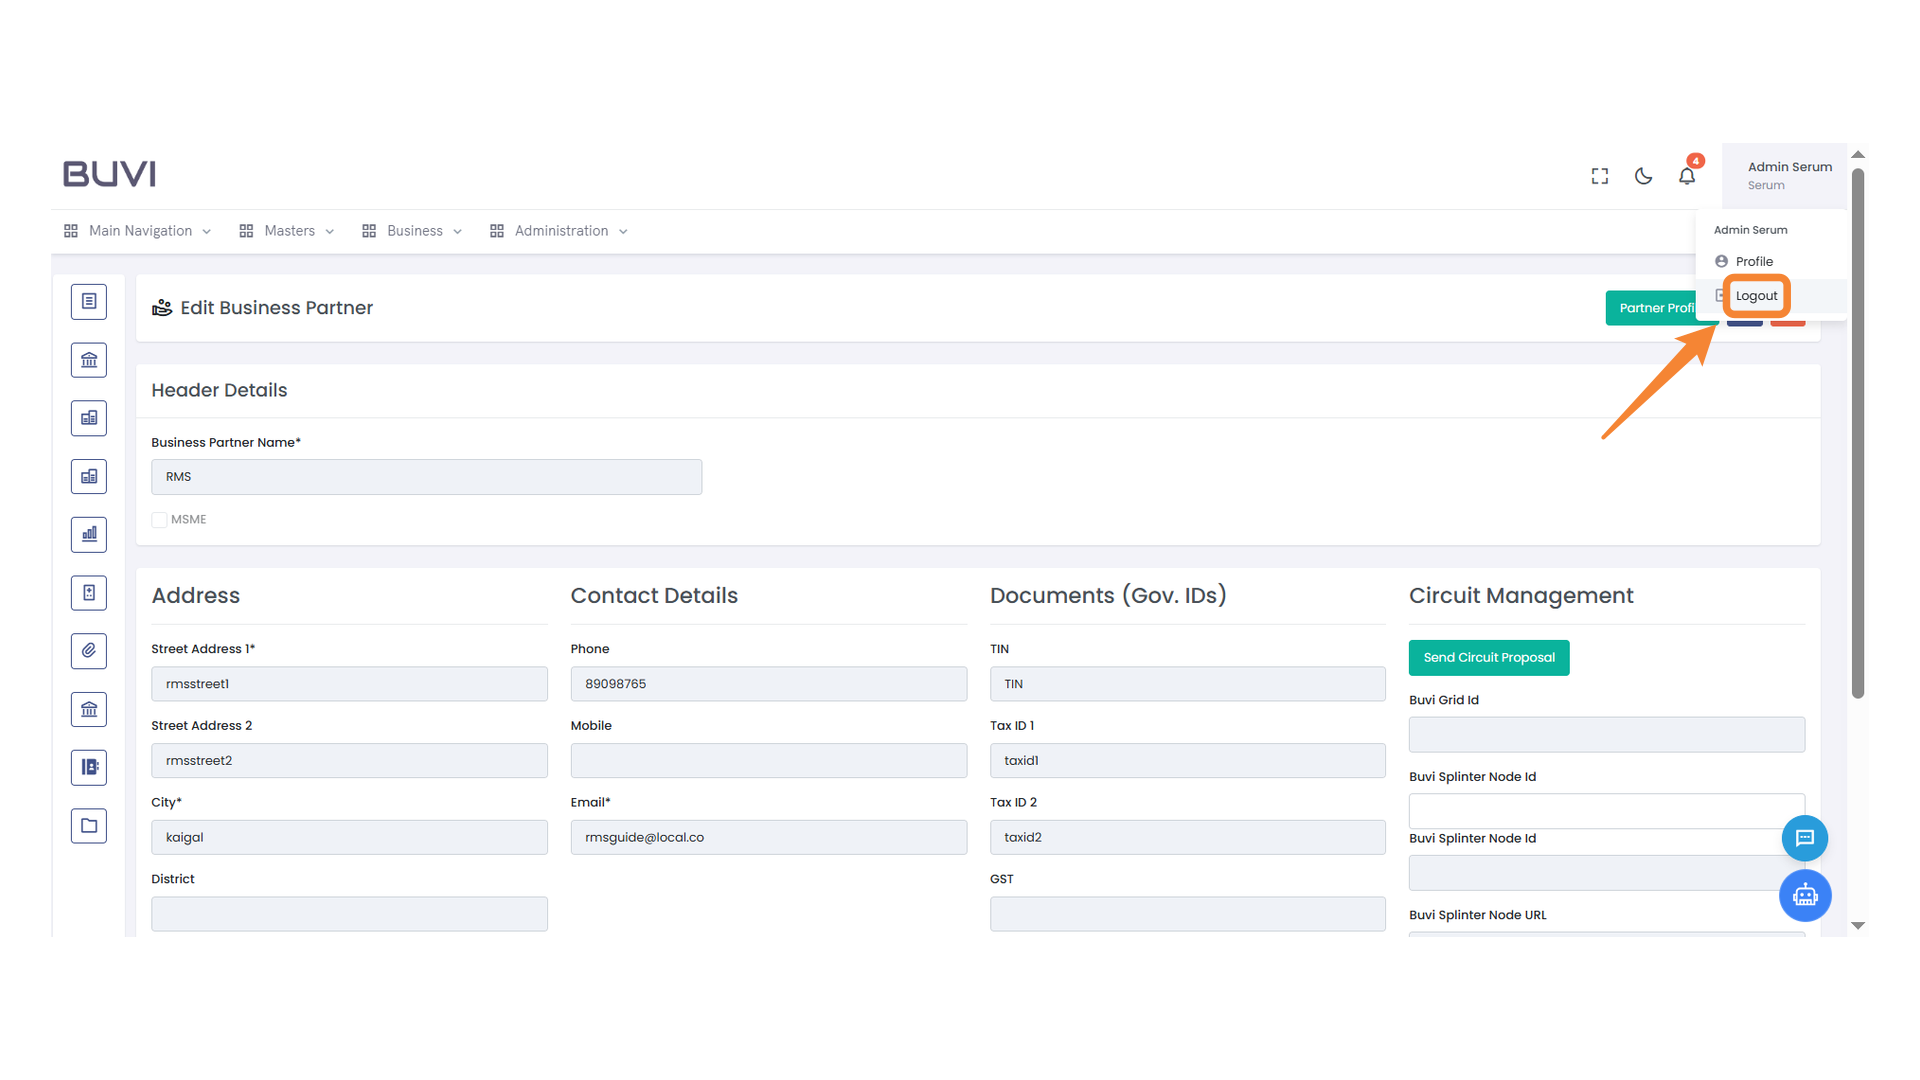
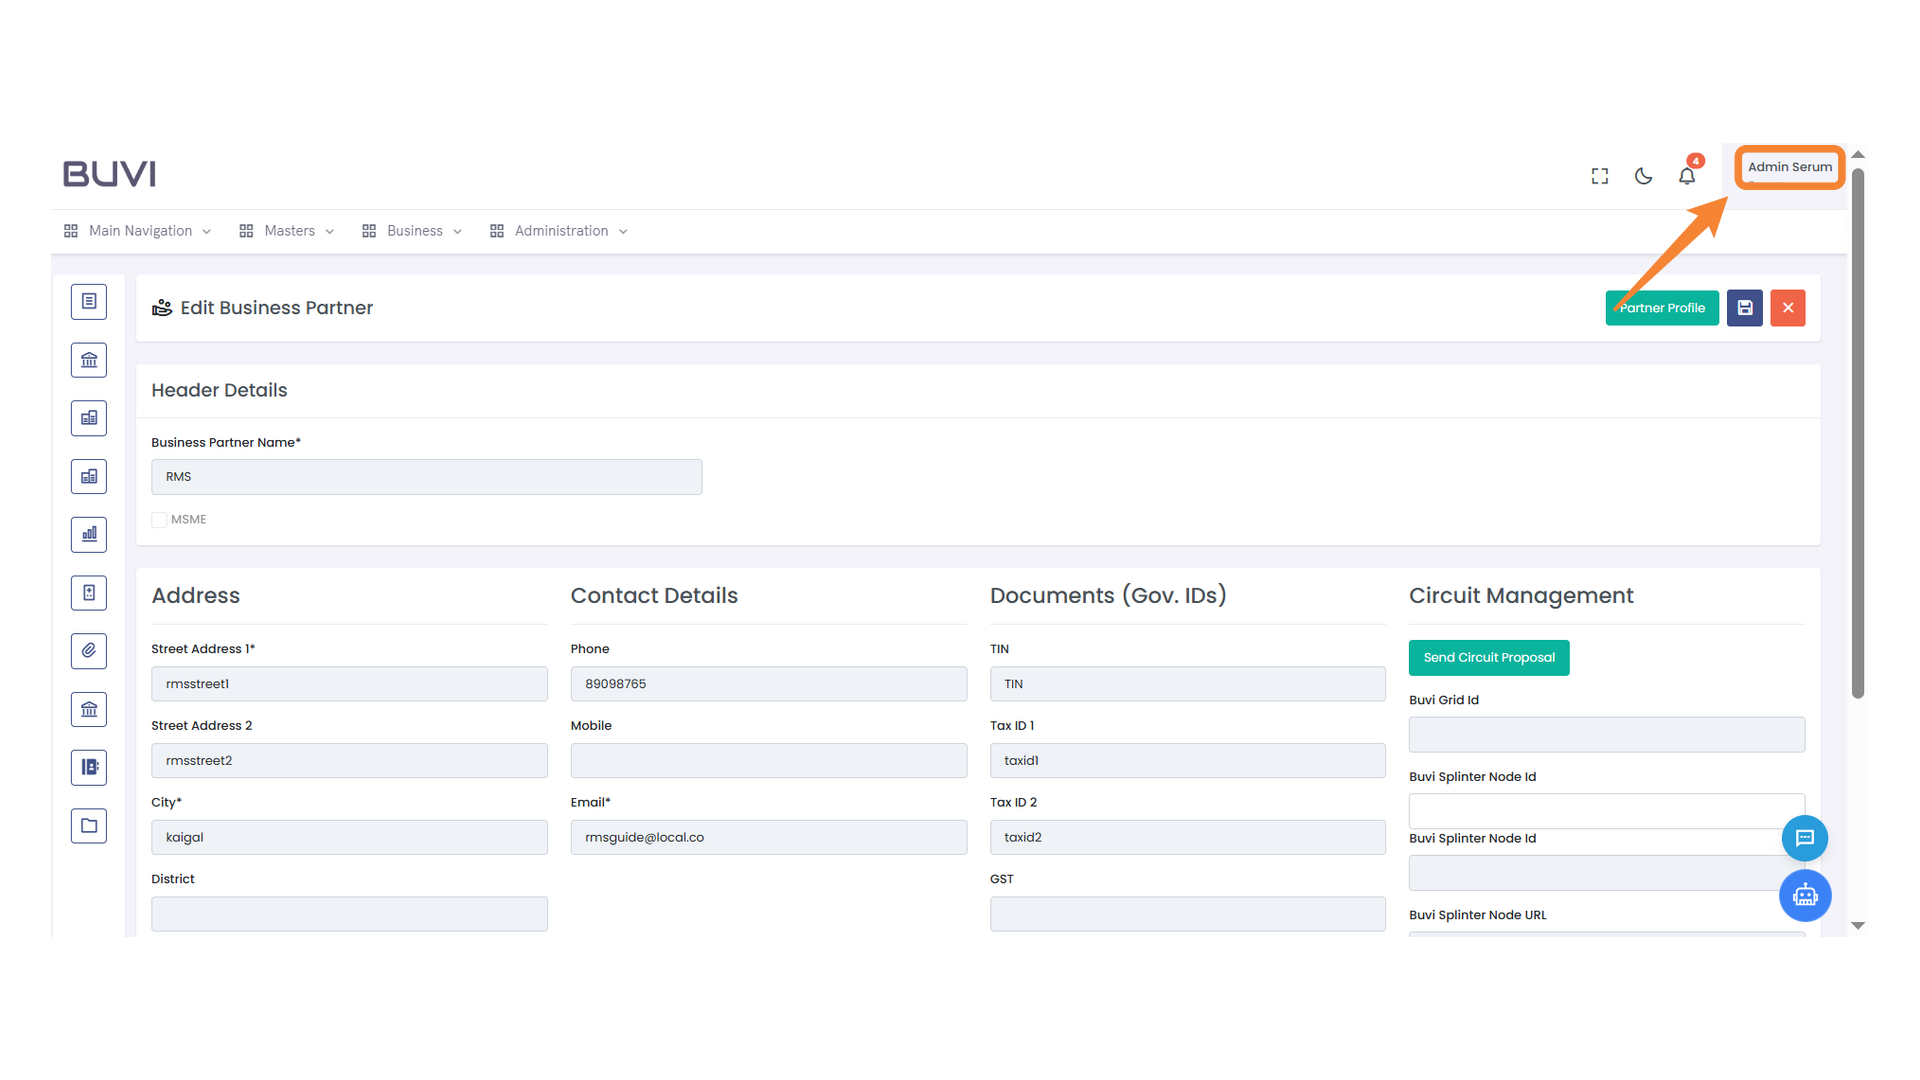
19. Admin Profile Access
Click here to access the admin profile and settings.

20. Logout Button
Click here to sign out of the application.

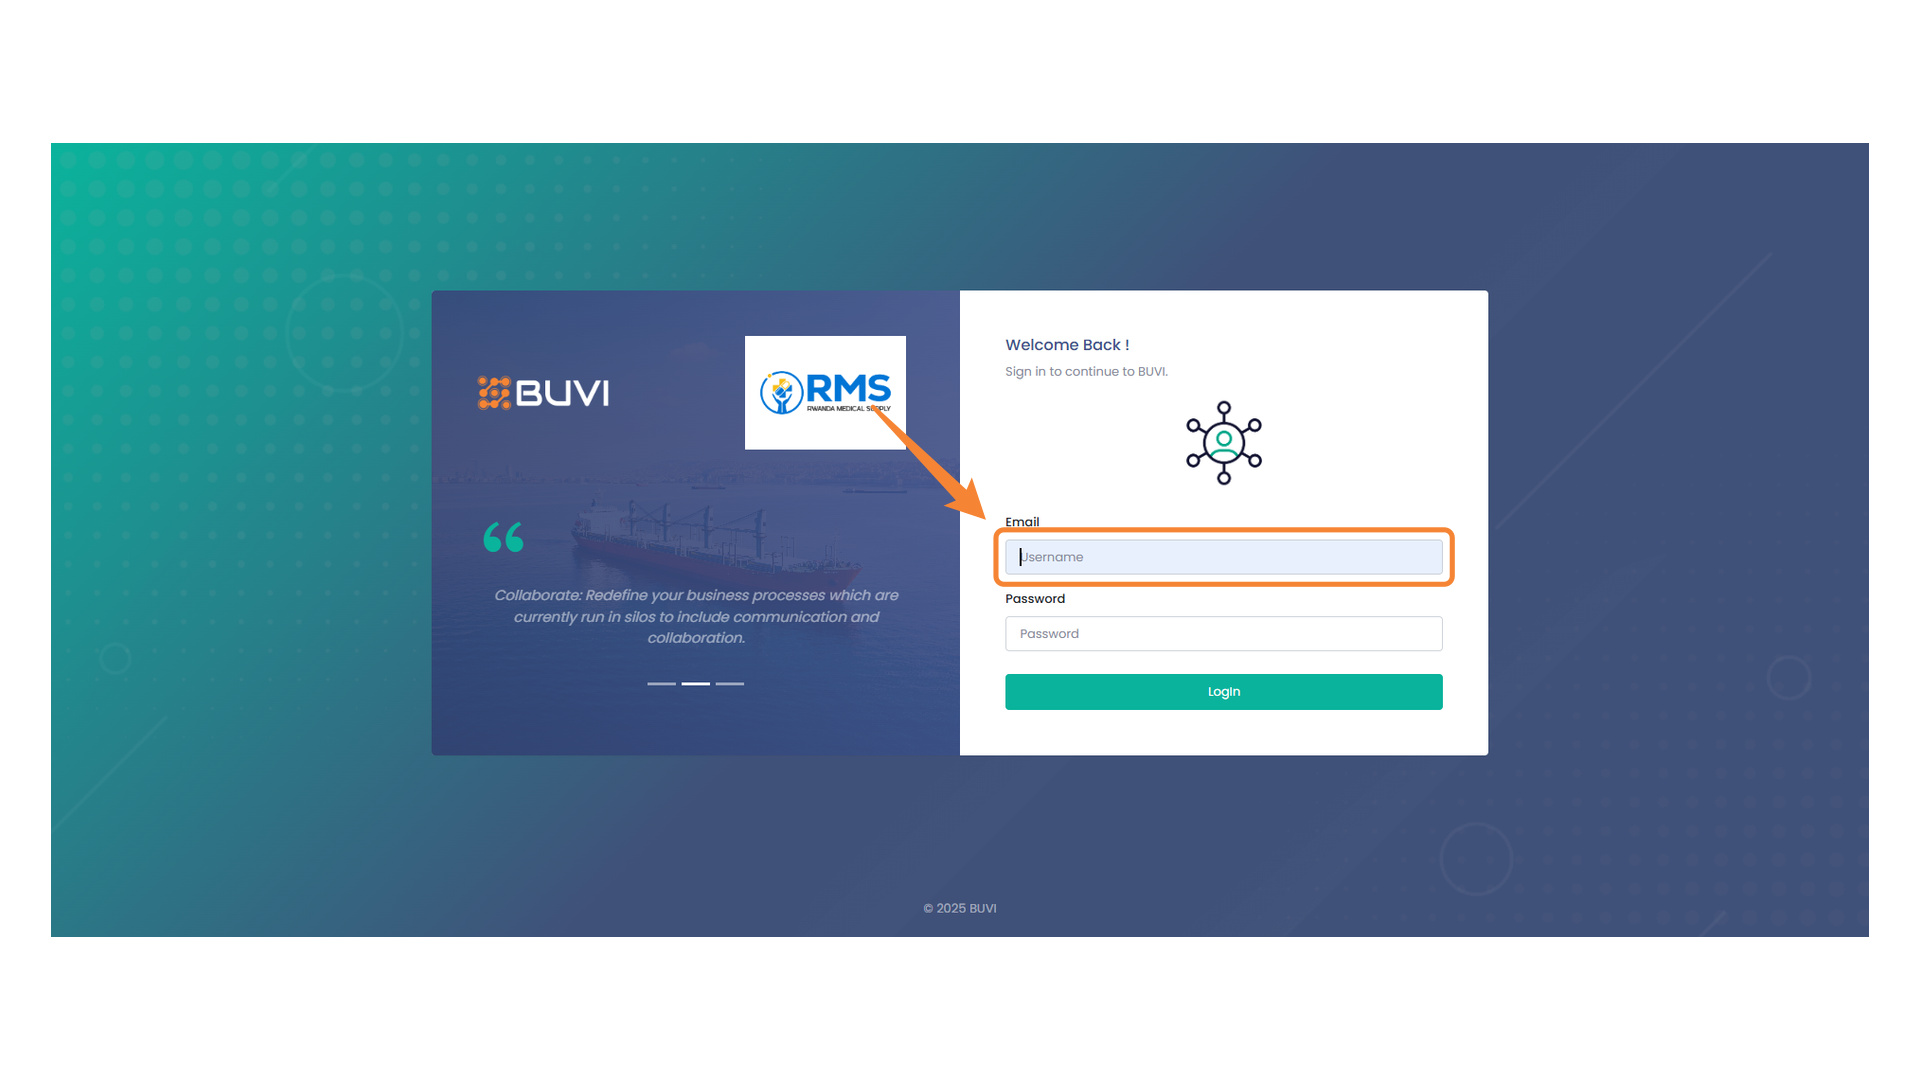
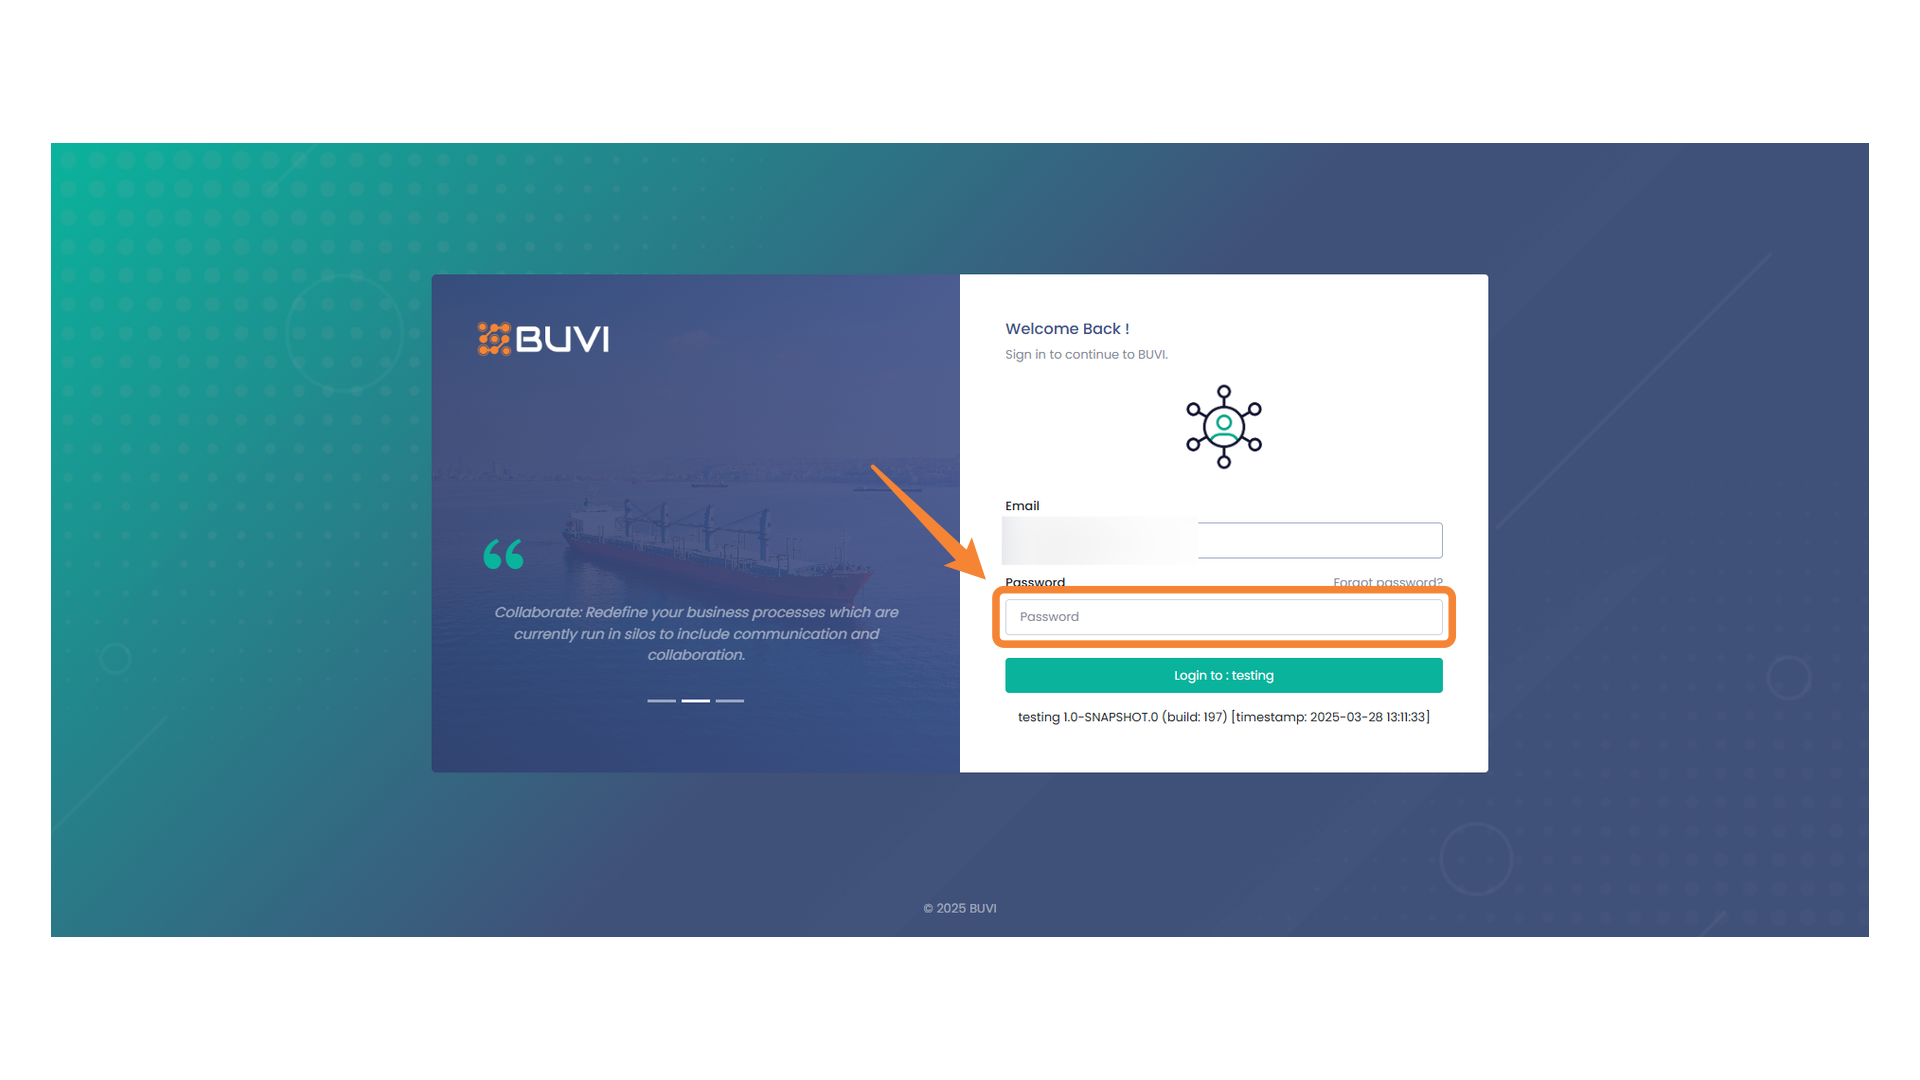
21. Email Input Field
After the new Vendor is Qualified it will mapped to BUVI application. Login with admin user on BUVI application

22. Password Input Field
Enter your password to continue the login process.
23. Login Button
Click on LOGIN button
24. Masters Menu
To check out the new vendor, head over to the Master section.
25. Business Partners
Choose Business Partner to see the new Vendor.
26. Search Bar
Enter keywords to find specific entries quickly.
27. Highlighted Email Address
Verify the email address of the new Qualified Vendor.
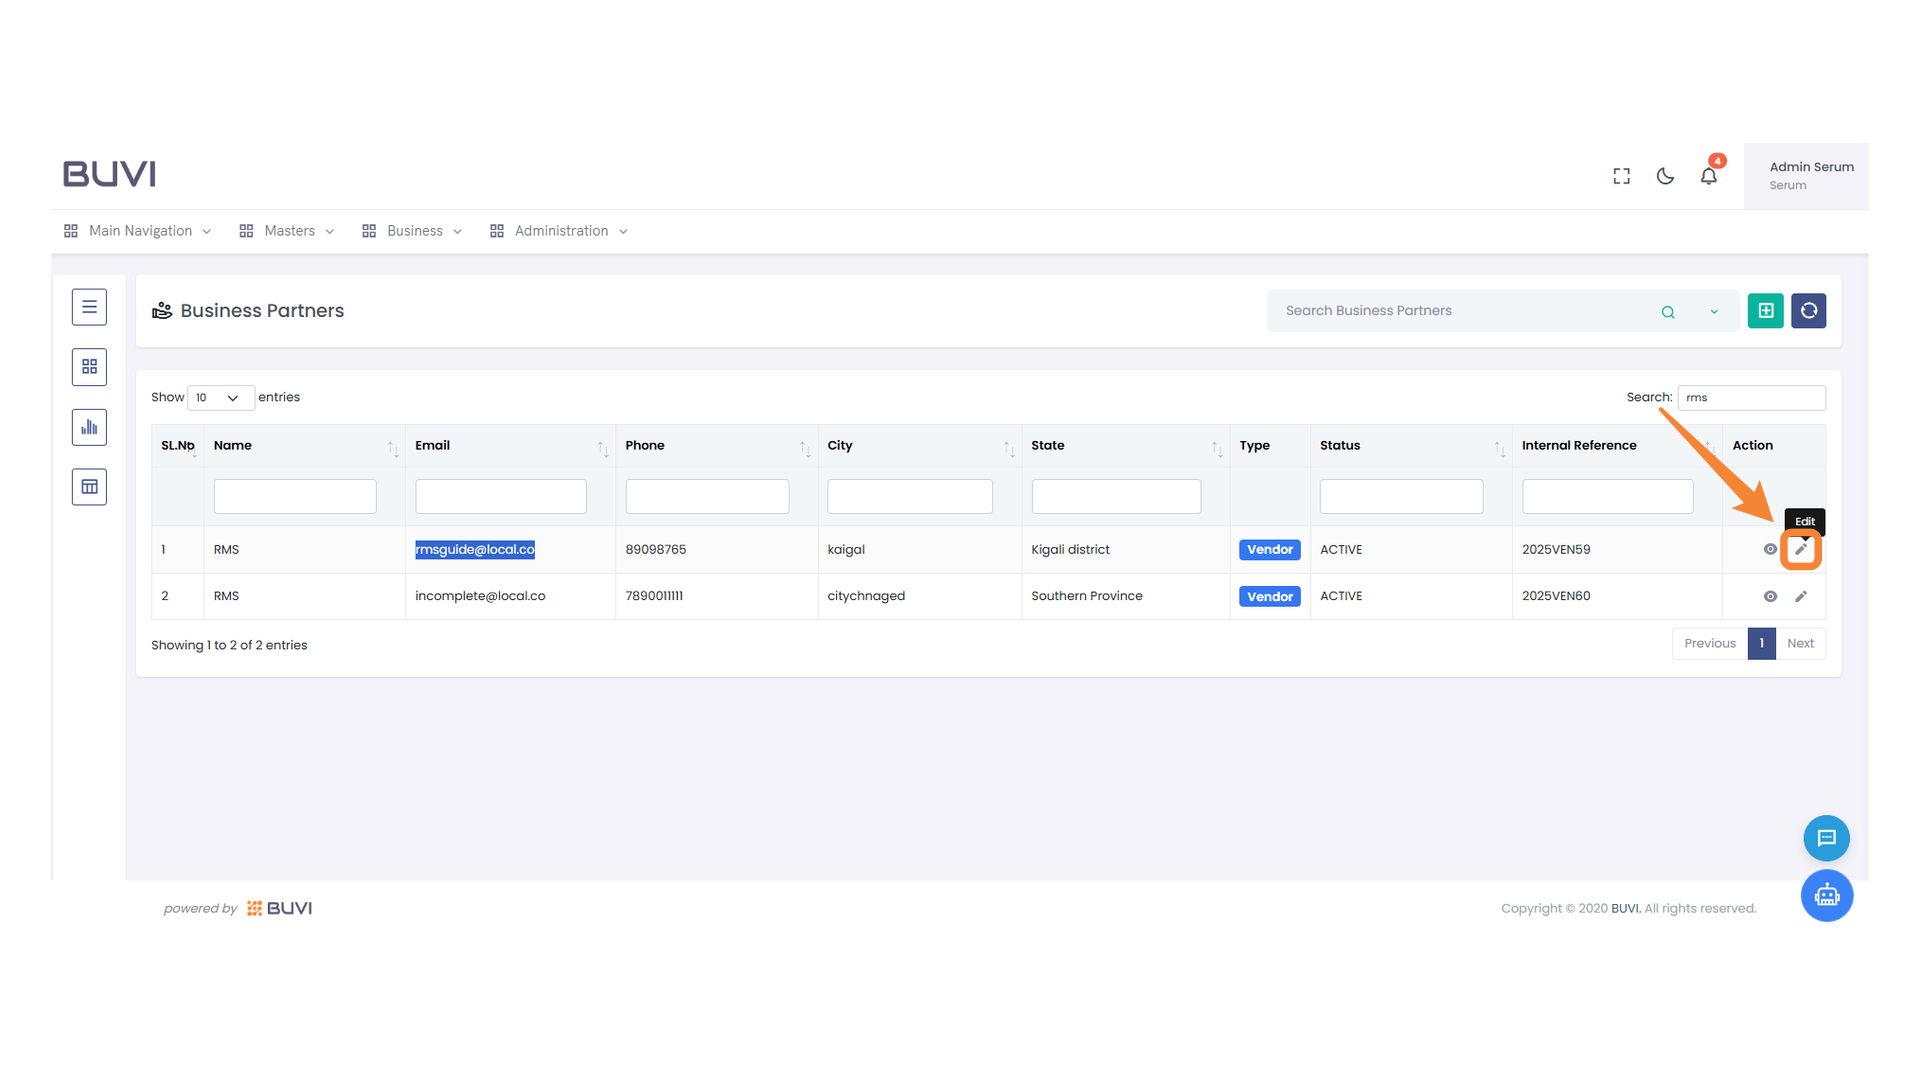
28. Edit Button for Business Partner
Click to edit the details of the selected business partner.
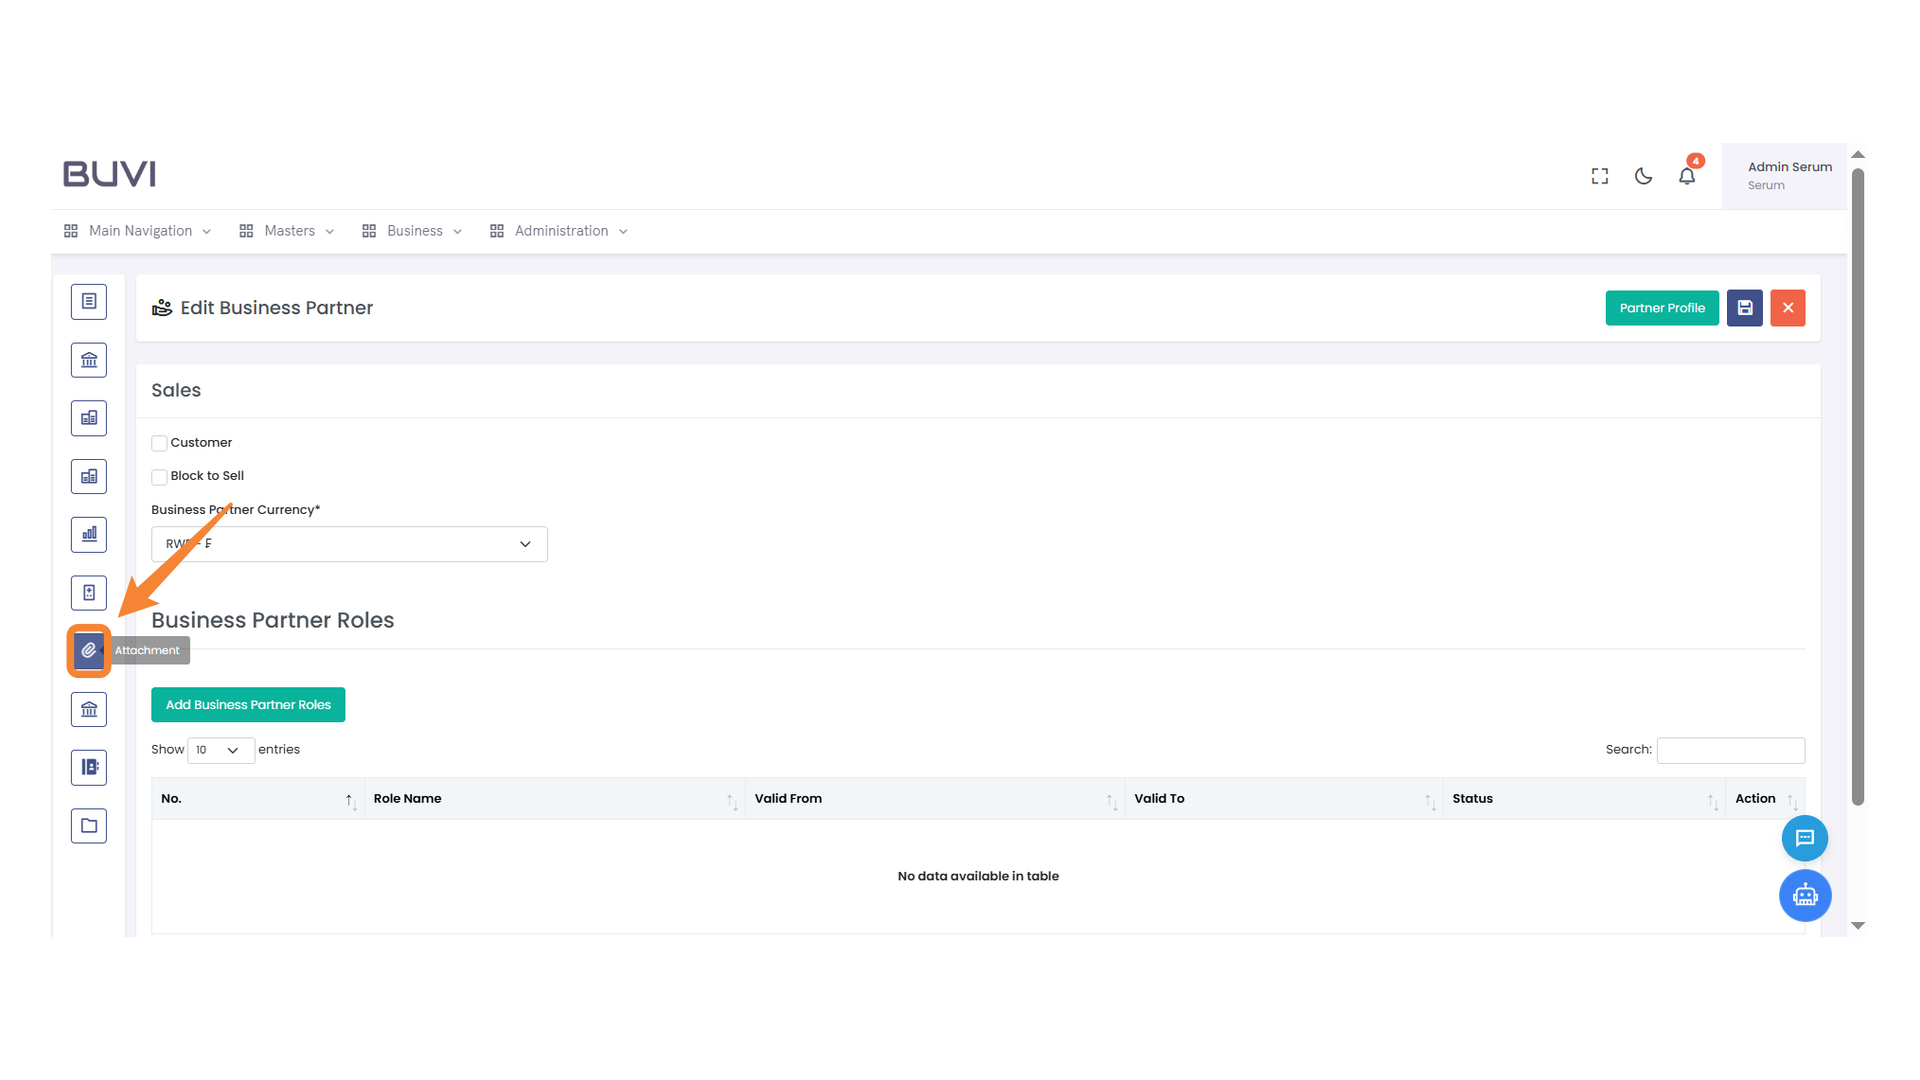
29. Attachment Icon
Navigate to the Attachment icon.
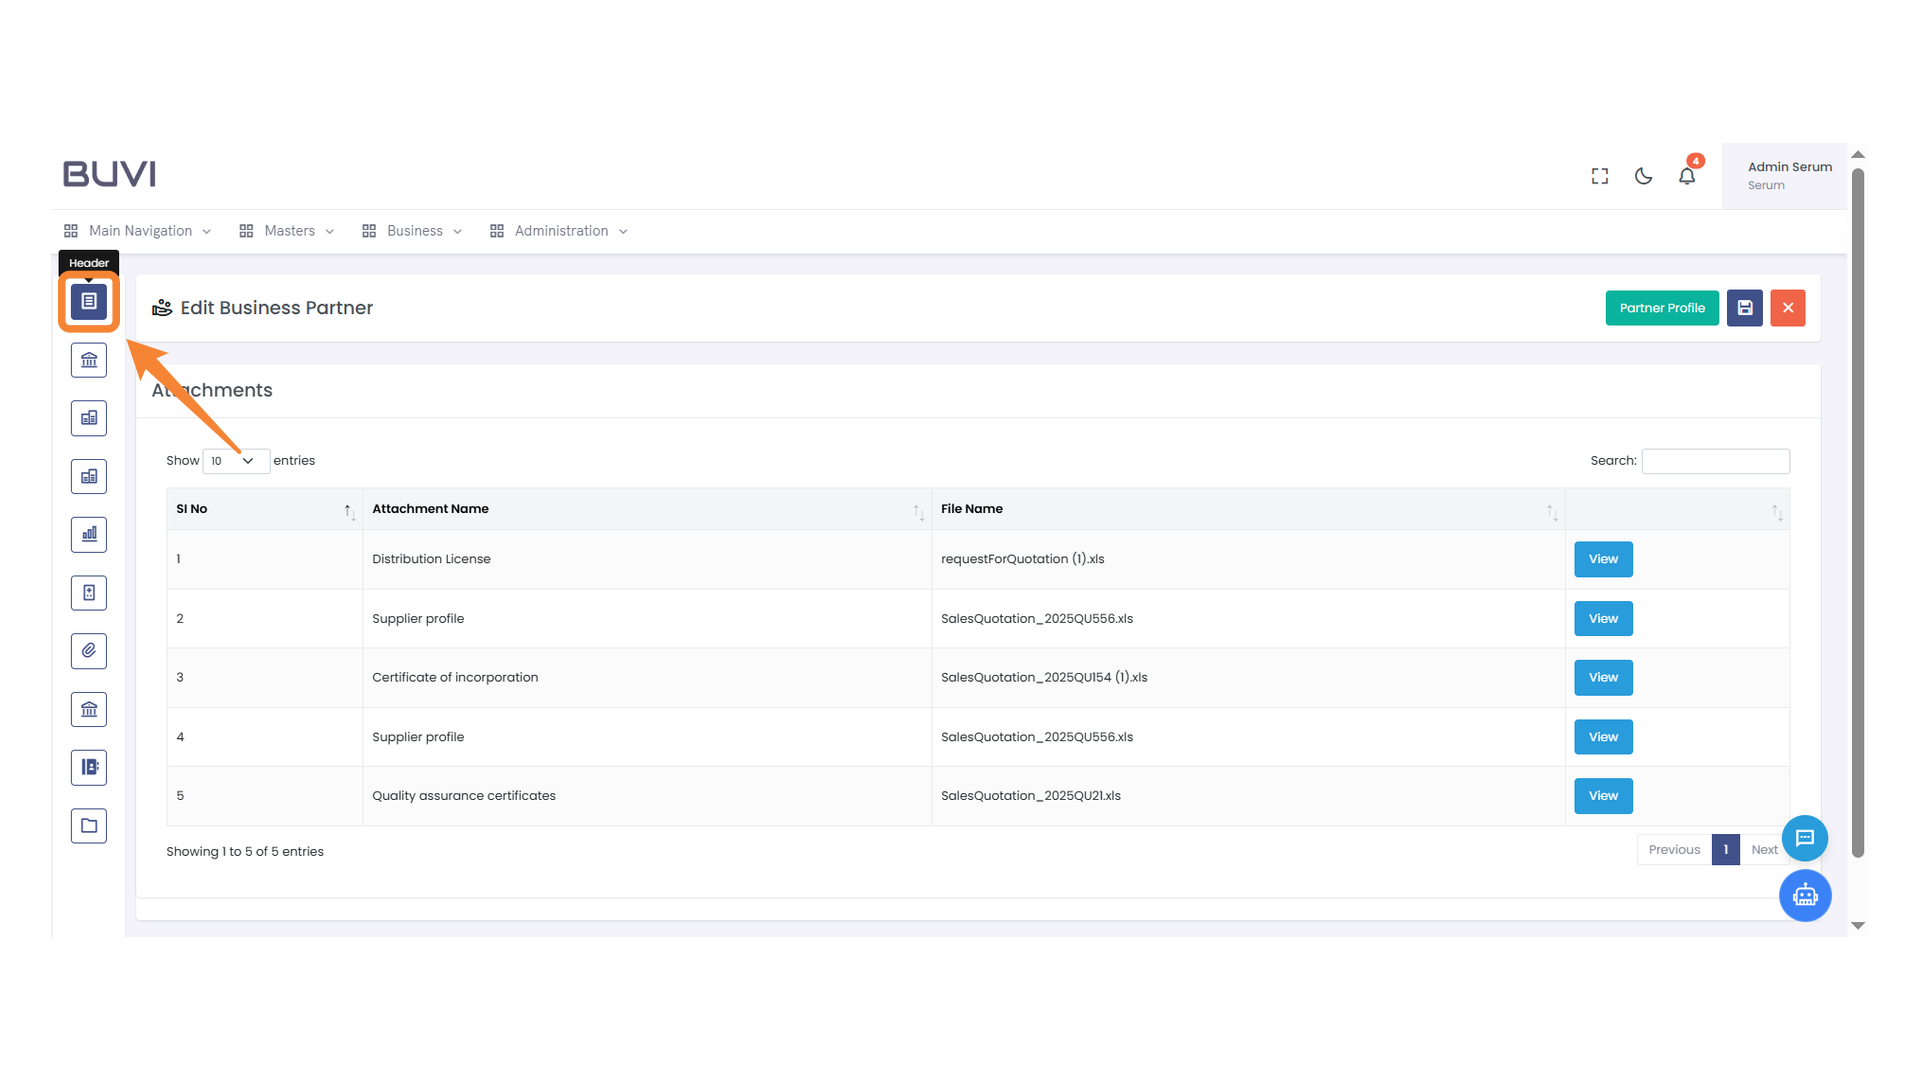
30. Attachments
Review all attachments uploaded by the vendor, then proceed to the Header.
31. User Profile Section
Access and manage the user profile options.
32. Logout Button
Click to log out of your account.